If your family is as busy as mine is, you might have found yourself thinking about different ways to get more organized. I’ve tried different kinds of planners and calendars for our planning. I’ve tried organizing our mail and important papers in different ways. Finally, I decided to put together a Family Command Center that had everything we needed specifically for our family.
This post is sponsored by Cricut.

DIY FAMILY COMMAND CENTER
Cleaning and getting organized isn’t just about reorganizing the closet.
As our lives get back to something that resembles the busy lifestyle we used to live, I’m finding that everything is scattered. Our calendar is one place, grocery list in another, kids’ papers are ALL over, and then I find myself misplacing important things like bills!
I have always loved the look of home command centers when I was browsing for organizing ideas. You can buy a premade one but none of them ever seemed to have exactly what I knew our family would use.
So when I started exploring DIY options, I realized that a command center could be the answer to our needs because I could customize it to include exactly what we needed!
Then came the task of figuring out what I needed and how I would customize it to really make it our own. I knew right away that I would use my Cricut Joy to help me add some personal touches and make the command center ideas really work for us.
But what else did we need? Here are some of the ideas I felt were important.
HOME COMMAND CENTER IDEAS
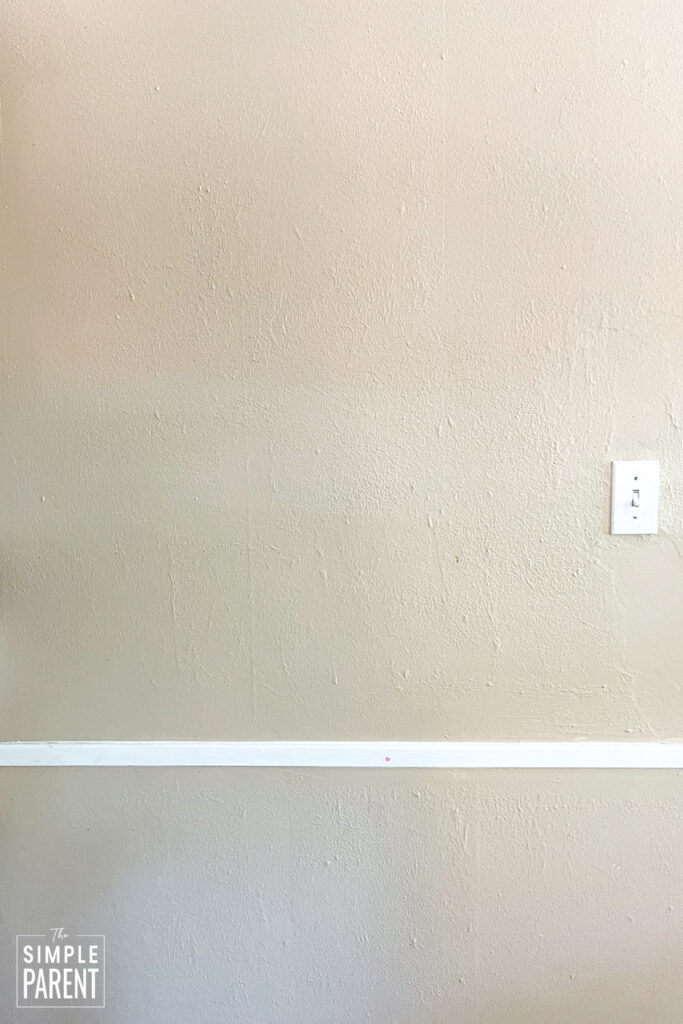
- Location – Figuring out the location of the area was important. The command center is almost like putting together a wall of photos. It’s going to be noticed but it’s also important to put it in a high traffic area. To be honest, I’m still working on the best location in our home. I’m debated moving our command center to a new location already! So definitely consider where you want to put yours. The location and amount of wall space you have may dictate the other things you include.
- Calendar – For me, having a good calendar option was one of my top priorities. It’s the part of the command center that I started with. You’ll want your calendar to have plenty of space to write. I opted for a whiteboard to customize but you could also print out a calendar and use it. You can also purchase premade whiteboard calendars. I debated making just a weekly calendar or a monthly calendar and went with what would work best for our family.
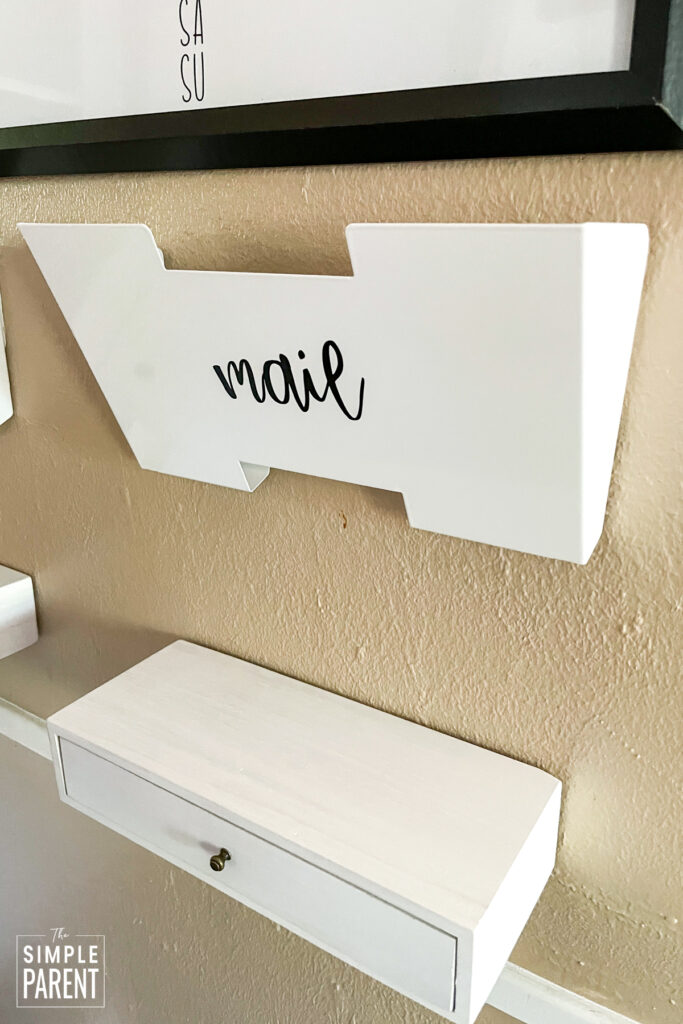
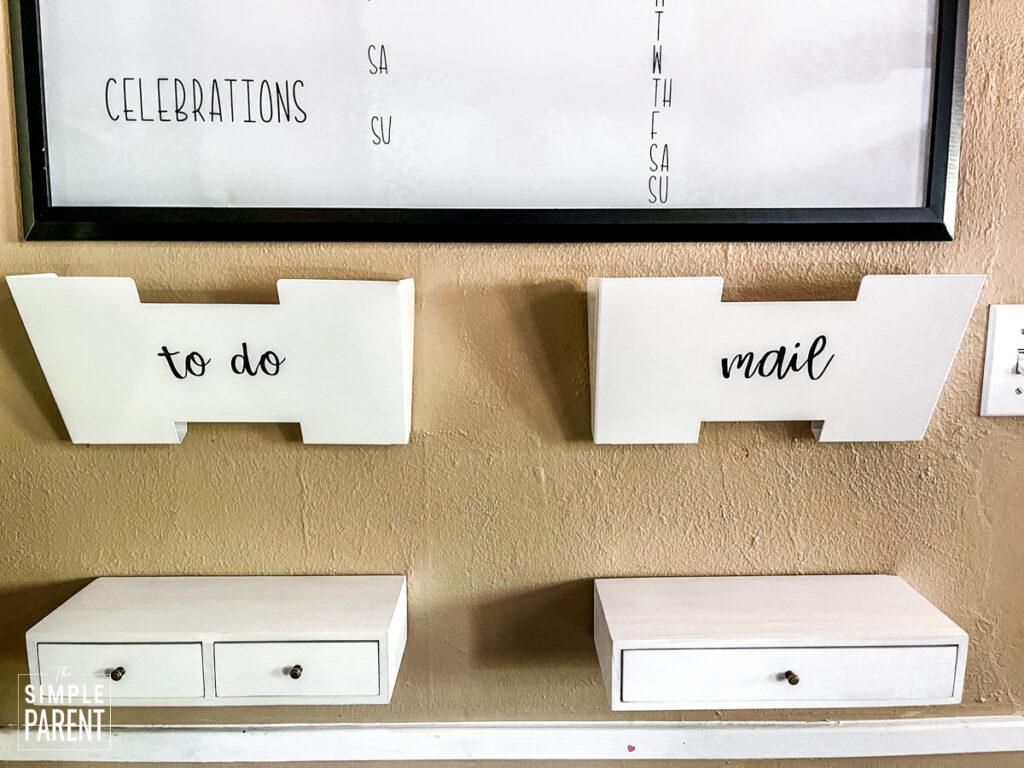
- Baskets or containers – Another priority for me was having a place to sort our mail and other important papers. Before I made our family command center, we just set everything on the kitchen counter and the counter was a mess! I won’t even deny that! Or I would hang some things on the refrigerator while others were on the counter and there was very little organization. So I needed some sort of container for the mail. You may also use baskets for items like school folders and things like that.
- Hooks – If you’re using your command center for items like school folders and backpacks, you’ll also want to think about adding hooks to your command center. Then everything can be kept in one place. We have a mudroom where we hang backpacks so I didn’t need that in our command center. I am now debating adding baskets for school folders near that area though! Hooks are also great if you plan to hang keys in your DIY center.
- Shelf or drawers – I knew I wanted to have a storage space to keep things like markers for our dry erase calendar, magnets, sticky notes, or maybe extra keys. You can go with a shelf that can hold a container for pens. I found some small shelves with drawers that I thought might work well for our family and our space.
- Clock – I’ll admit I wanted to add a clock to our command center because I thought it would look good. For me, the command center is also almost like art on the wall. I wanted it to look good too. If you have kids, having a clock is also a great way to give them a chance to learn how to read it!
- Bulletin board, dry erase board, chore chart, grocery list, message board – There is really no limit to what you include in your fabulous command center. I love that you can keep it as simple as you want or get as elaborate as you want! Figure out what might work best for your family and go for it!
It took me a little bit of time to narrow down the ideas I wanted to use specifically for our command center. But I finally settled on a fairly minimal style for what I hope will end up being a very functional command center!
HOW DO YOU MAKE A FAMILY COMMAND CENTER
To get started, I knew I wanted a custom dry erase calendar for our family. Finding a calendar that worked well for us hasn’t always been easy.
I broke out my Cricut Joy™ and my Black Cricut Joy Smart Vinyl to go with my black and white them I put together with the other items I purchased. I love my Cricut Joy for labeling projects! Recently, I’ve used it to make custom baseball flags, label water bottles, add labels to end of season gifts, and label supply boxes for my journaling supplies!
The Cricut Joy is a compact writing and cutting machine. It is so easy to set up and store. The machine can cut 50+ materials, including iron-on, cardstock, vinyl, paper, and Smart Materials™. My favorite materials are the Smart Materials because I can make cuts without a cutting mat! You can also draw any shape and write in different styles with this machine. The Cricut Joy cuts individual shapes up to 4 ft long or makes repeated cuts up to 20 ft long with Smart Materials.
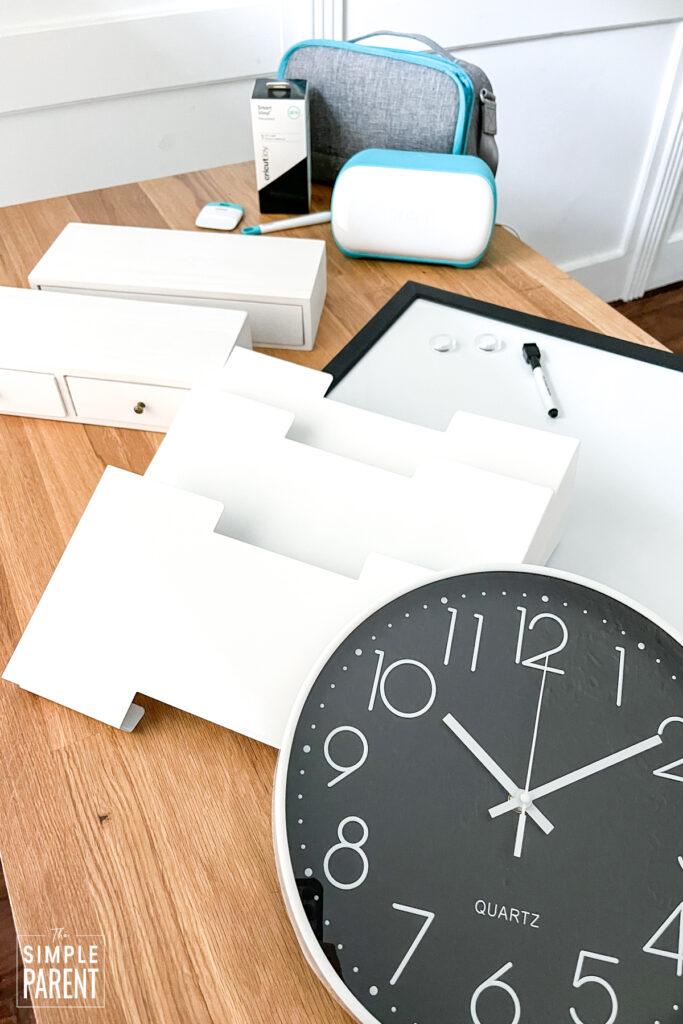
Shop the Project
Here is a list of everything I used to put together our home command center:
- Cricut Joy™
- Black Cricut Joy™ Smart Vinyl™ – Permanent
- Cricut Starter Tool Set
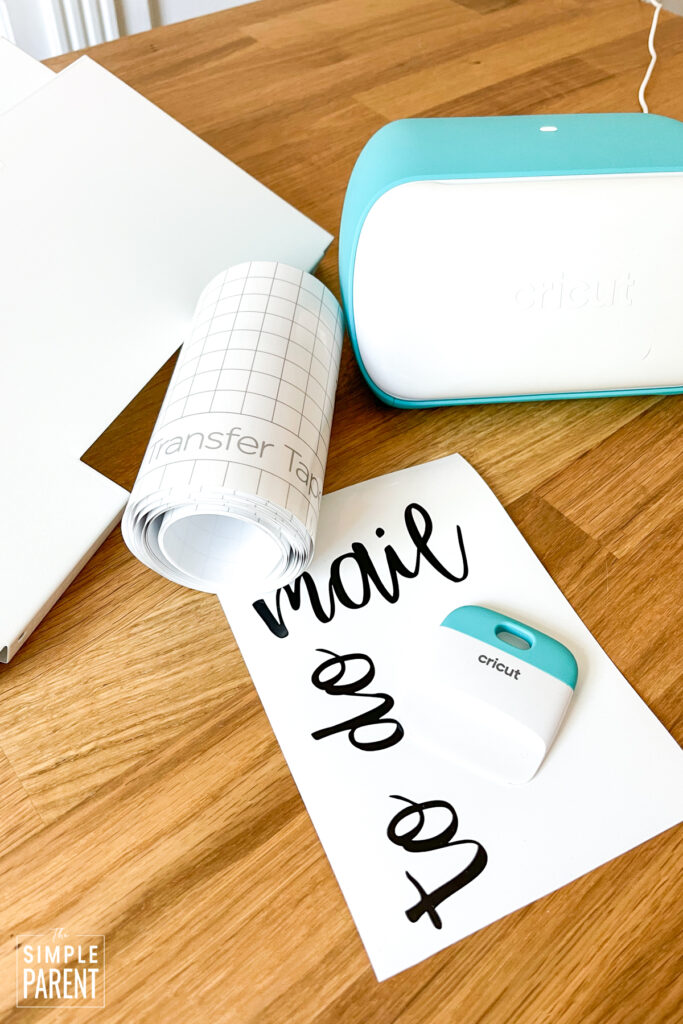
- Cricut Joy™ StrongGrip Transfer Tape (you can also use Cricut Joy™ Transfer Tape)
- Whiteboard
- Shelves
- File folder holders
- Clock (Tragedy hit our gorgeous clock not long after I hung it up on our finished wall and it fell down. When it hit the floor it was completely broken.)
DIY CALENDAR
Making labels is one of the easiest things to do with your Cricut Joy. You can really label anything! All you have to do is figure out what size you need and start designing!
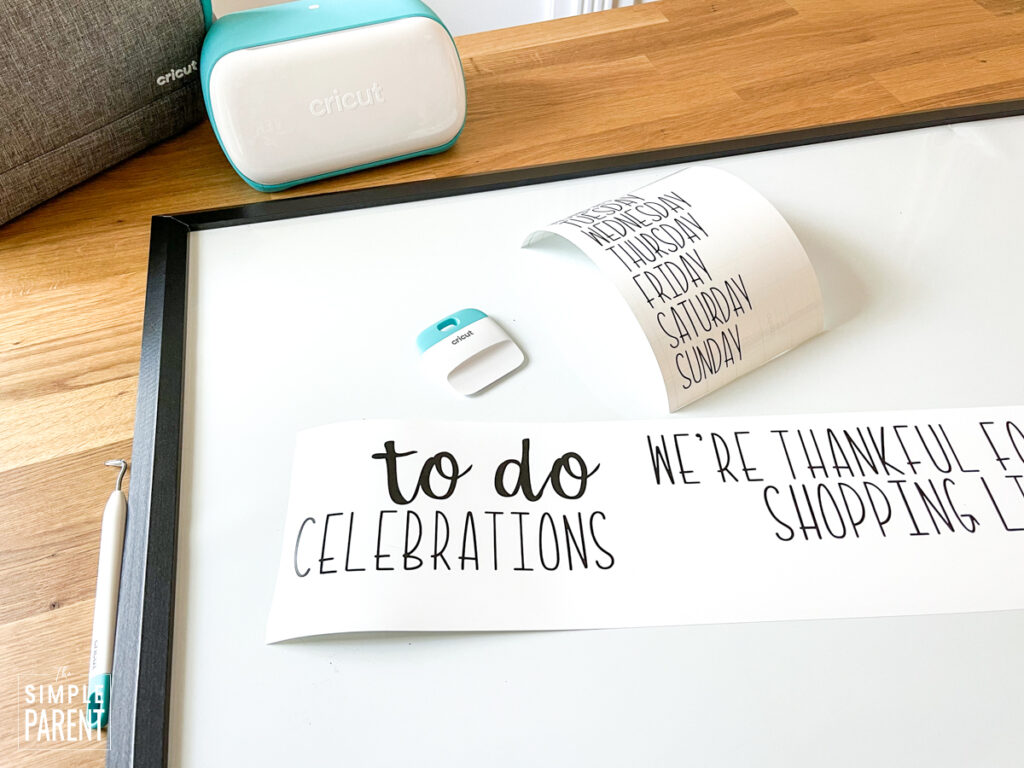
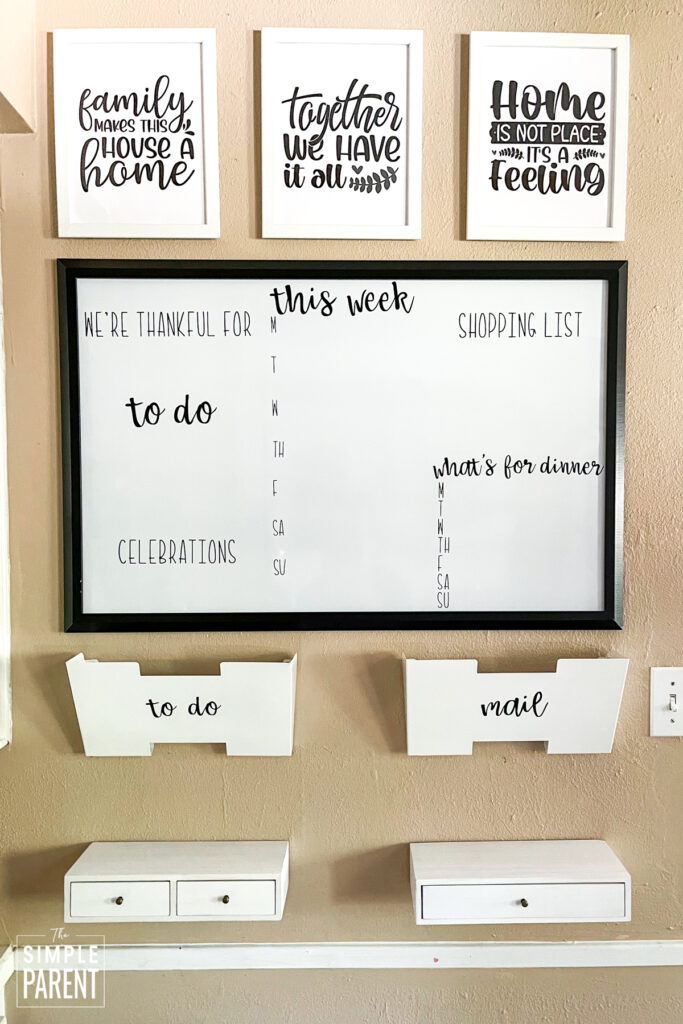
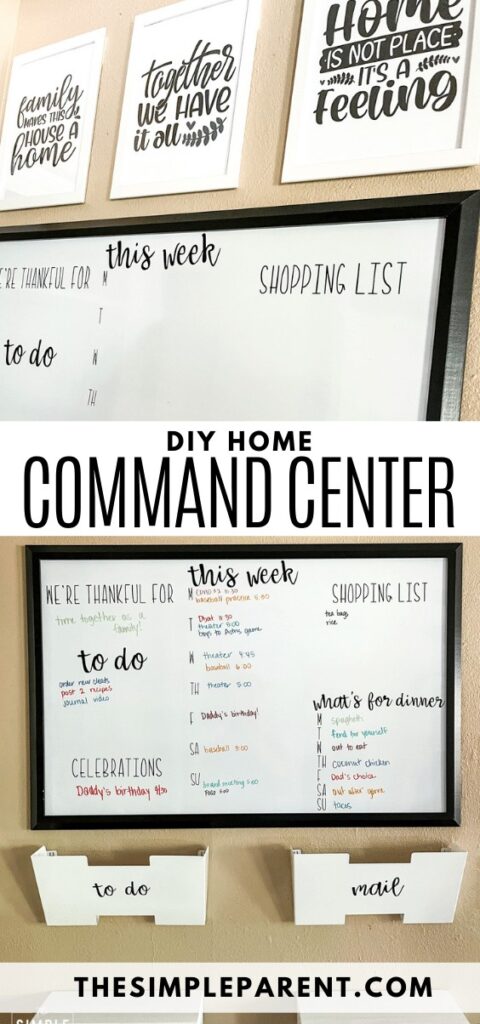
I love making labels with my Cricut Joy so I decided to use it to turn a plain whiteboard into a message board that would work perfectly for our family’s needs. I decided what I wanted to include on our board:
- Weekly calendar
- Meal plan
- Shopping List
- To Do list
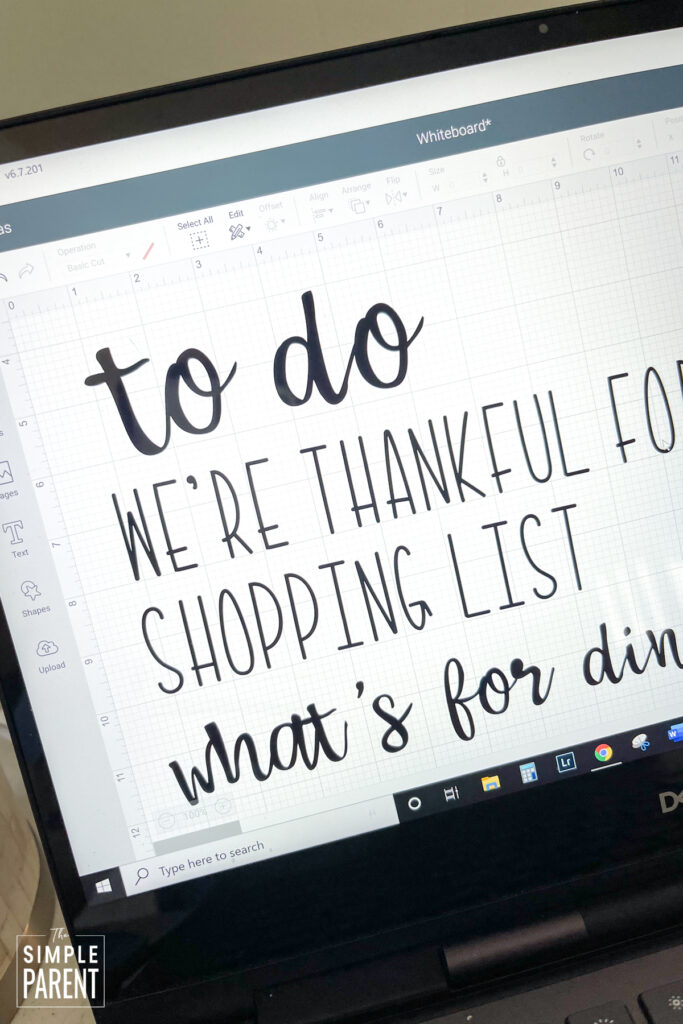
And then came up with a few other things to fill in space. This year we’ve been focusing on gratitude so I decided to include that on our command center board too! I measured the size of the space I wanted to use for the different labels. Then I used Cricut Design Space to create the words.
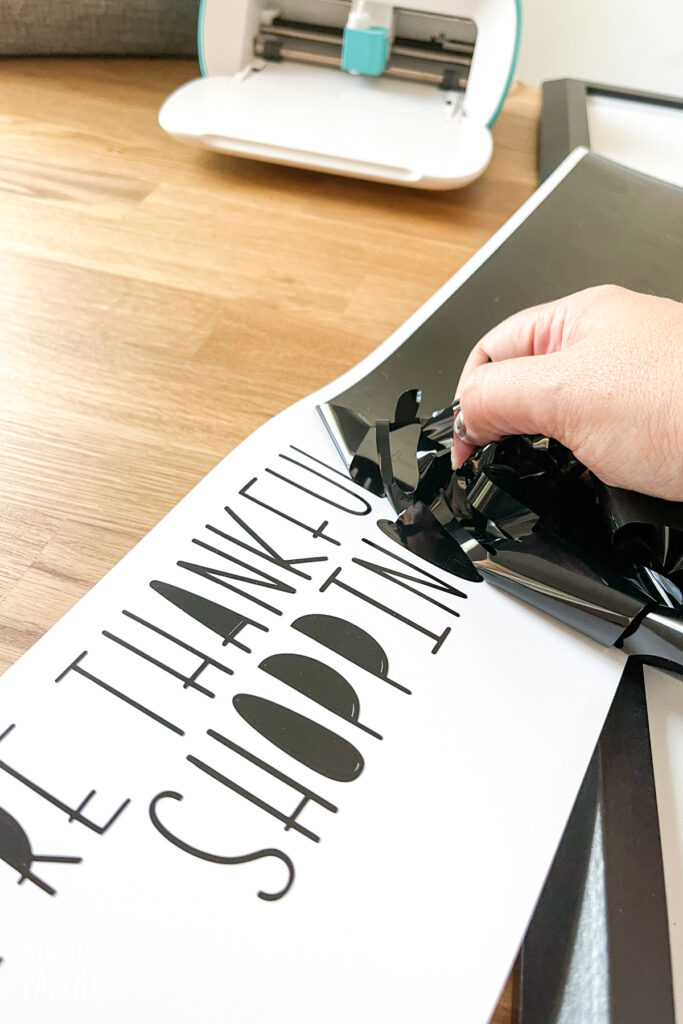
Once you have your project set, Design Space takes you step by step through loading the material, making the cuts, and unloading the material. When that is done remove the excess vinyl from the backing. If you have any small pieces of vinyl, use the weeding tool to remove them.
Then use transfer tape to move your words to your folder holders or baskets! Cover the entire design with transfer tape, run the scraper around the edges of the design to make sure the transfer tape is pressed down onto all of the letters. Otherwise, some of your letters may not come up with the tape.
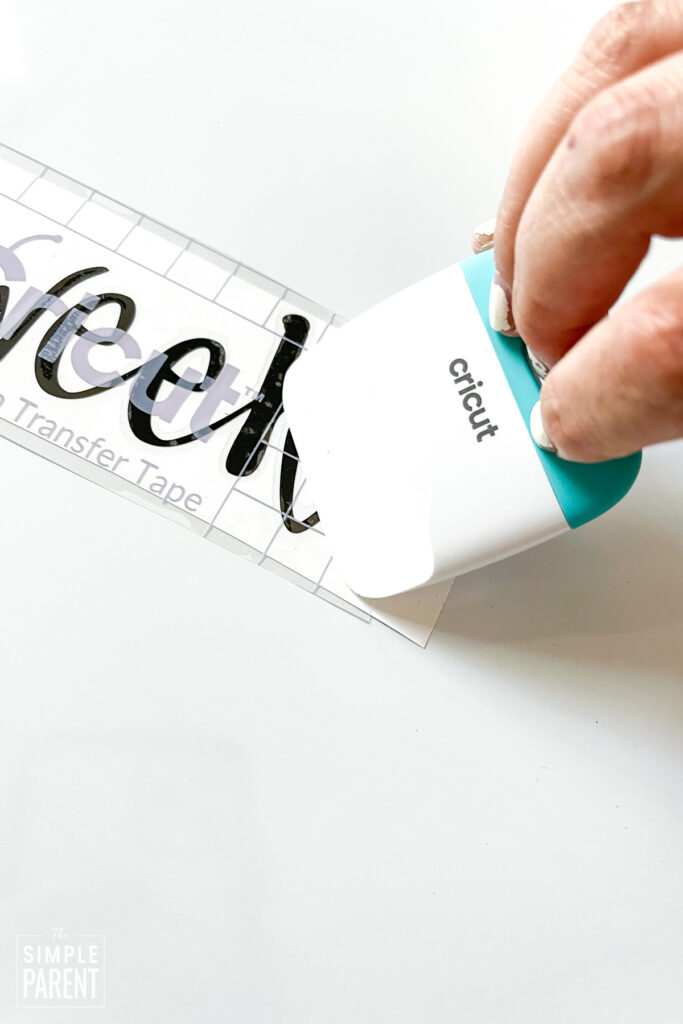
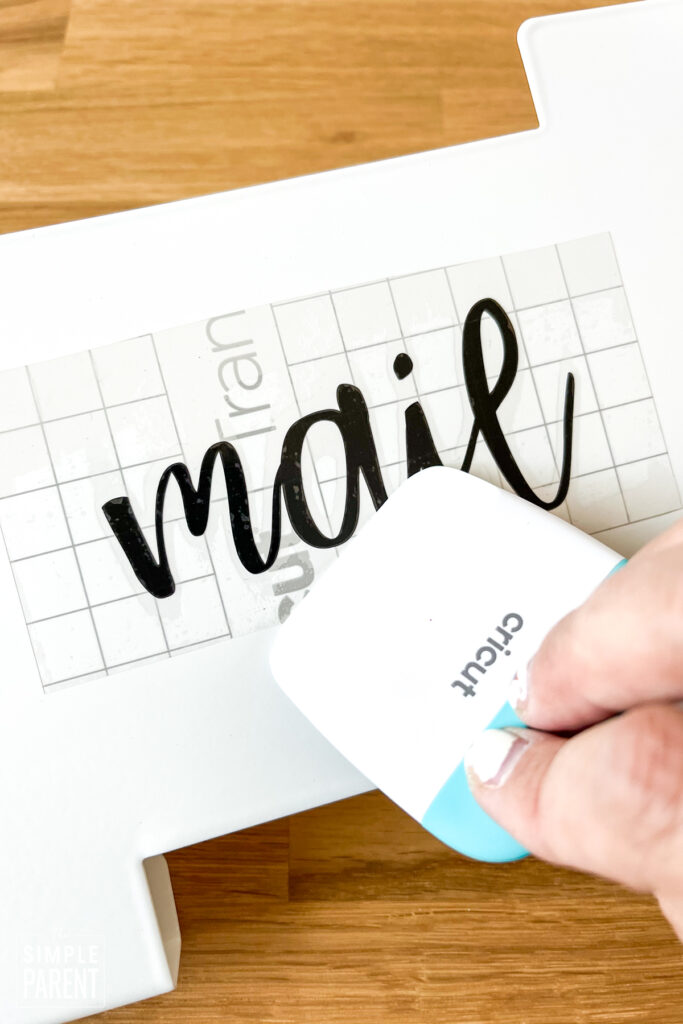
Once you’ve smoothed the transfer tape on top of your design, peel it carefully off of the backing and then position it on the white board. Smooth the entire design again, paying close attention to the edges.
Carefully lift the transfer tape off of the board, leaving your label on it!

MORE COMMAND CENTER LABELS
For our file folder holders, I planned to use for sorting mail, I followed the same steps. I measure the amount of space I had and used one of the fonts that I used on the whiteboard. (The two fonts I used for this project are Babette and Kyden. They’re available in Cricut Design Space.)
I made a label for each box and then transferred the vinyl using transfer tape, just like I did with the command center board.
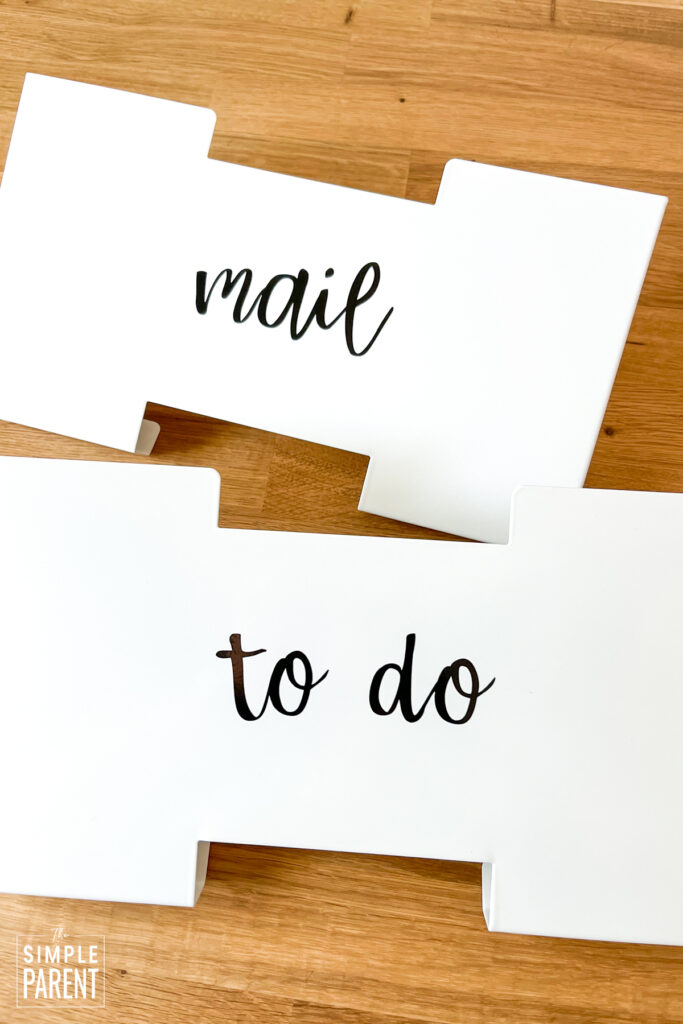
It was such a quick little project and I love the additional customization. I think it adds a lot to the wall.
Once you’re ready to get your home command center on the wall, take the time to lay it all out on the floor first, Measure out the amount of space you have available on the wall and then plan your wall before you start hanging anything up. It will save you a lot of time!
Another shortcut is to use Command Strips. For the pieces that don’t weigh a lot or won’t be holding things in them, I used Command strips to hang them.
As a final touch, I printed some word art and used some simple frames. I planned on using two frames and the clock, but when the clock broke, I was thankful to have a third frame. Frames are great for adding artwork to your family command center. It’s easy to change out the art too! So you can use it for word art or even display your children’s artwork!
If you’re looking for a way to get more organized, I recommend planning your own family command center! You can pick and choose what your family needs and then use your Cricut machine to personalize everything!
You can also check out some of my other Cricut projects including custom school supplies and customized furniture for more easy ideas!
SHOP CRICUT NOW and then let me know how your project turns out!
Leave a Reply