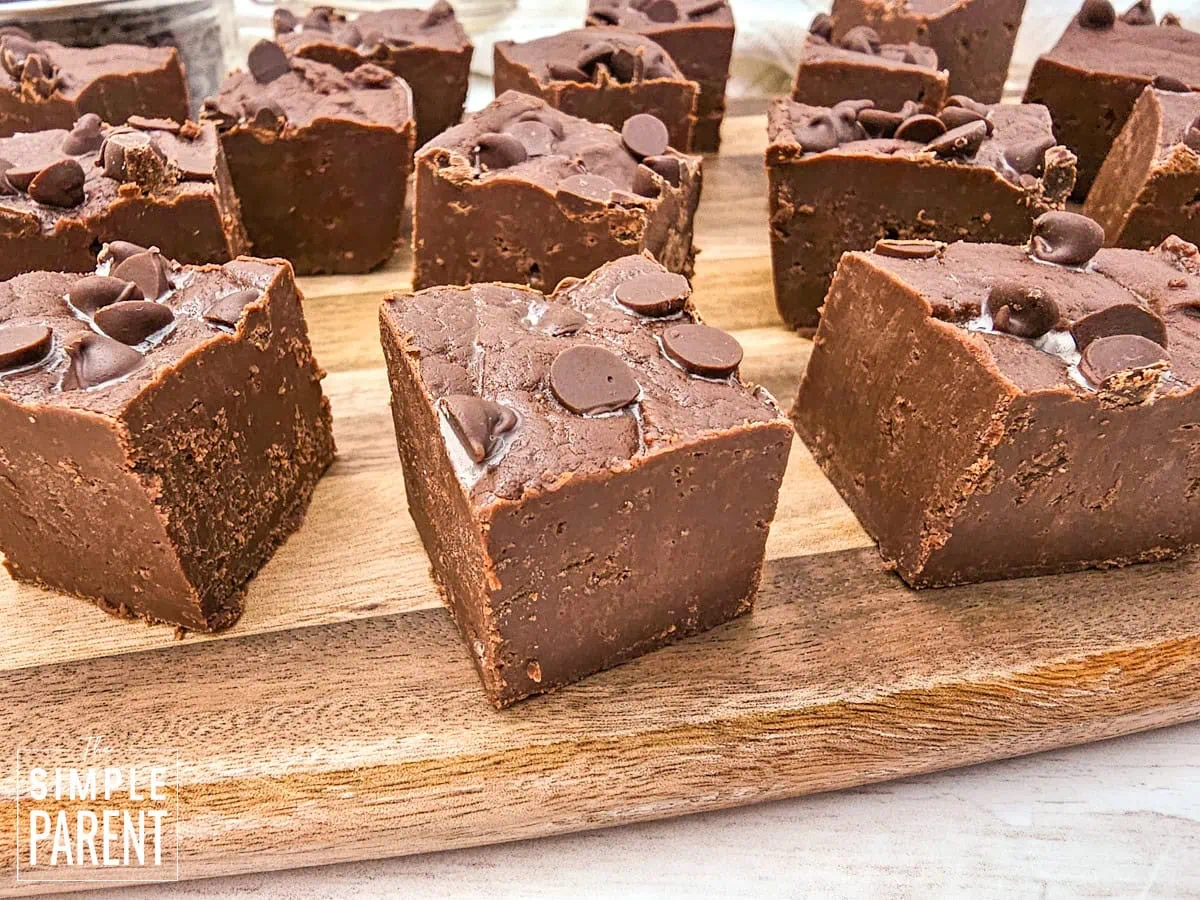
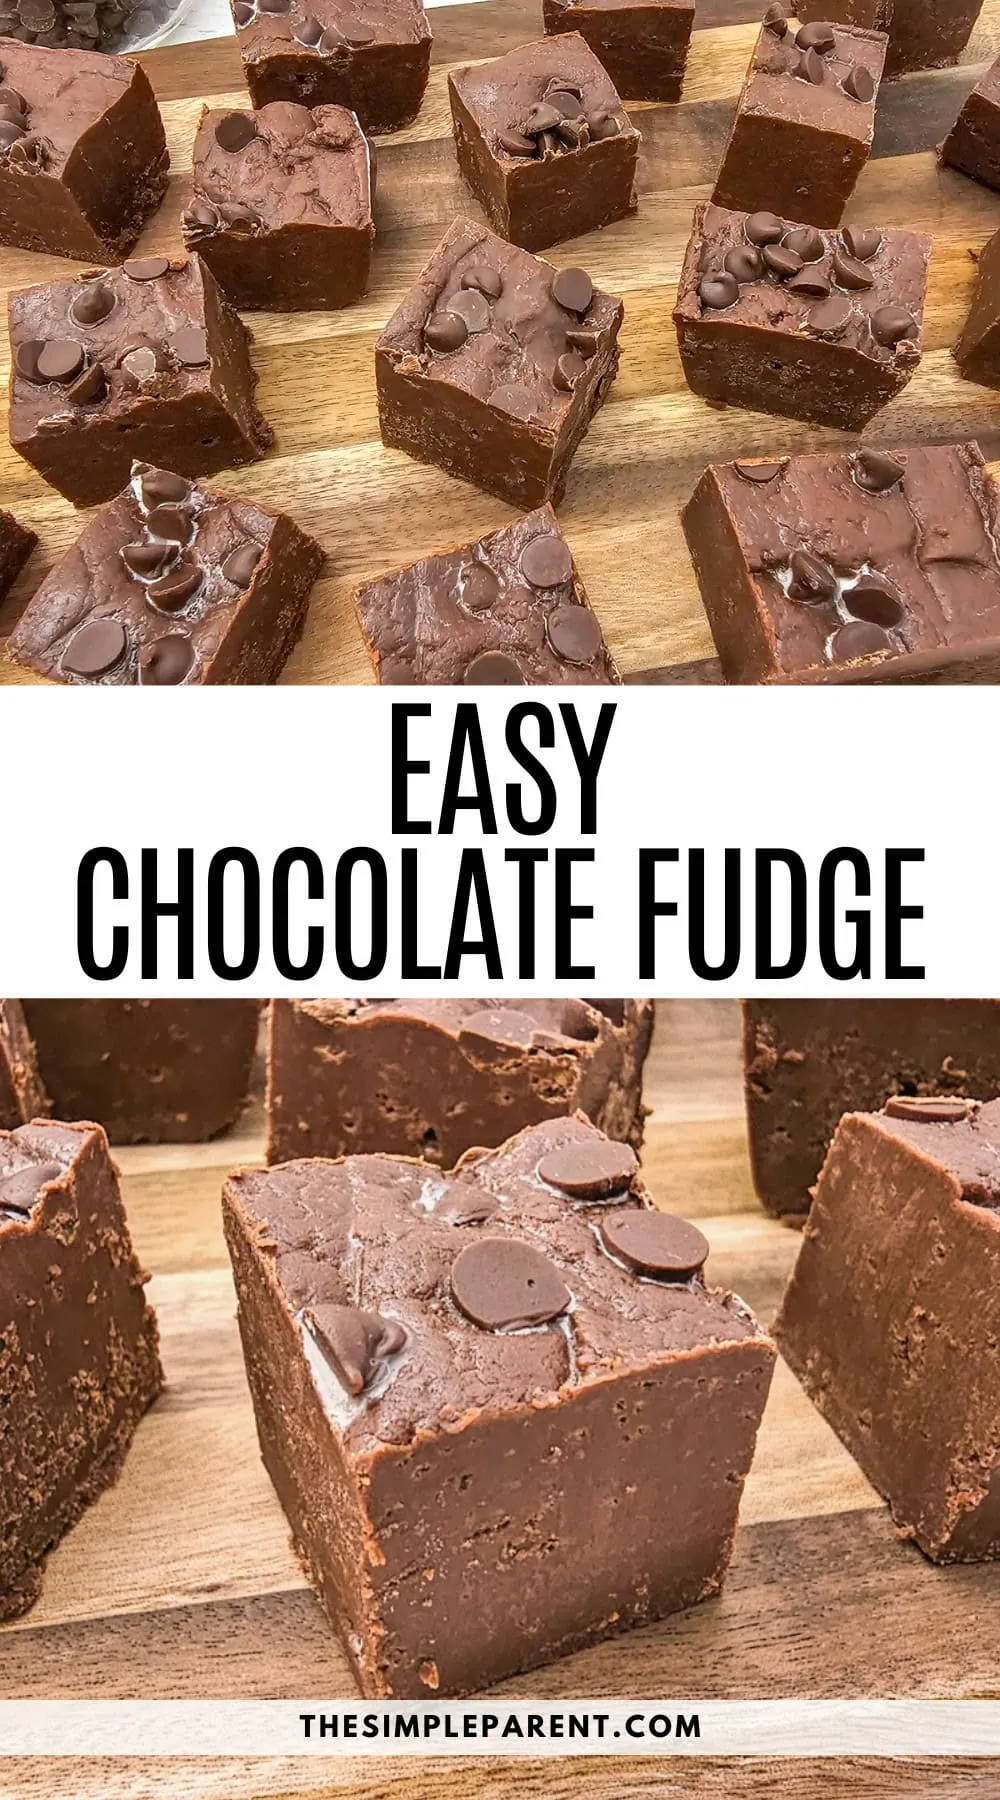
Easy Chocolate Fudge is a rich, creamy treat that melts in your mouth with every bite. This classic recipe takes just 10 minutes of hands-on time and uses four simple ingredients to create smooth, decadent fudge that looks like it took hours to make.
Easy Chocolate Fudge
What makes this recipe so amazing is how foolproof it is. You don’t need a candy thermometer or any special techniques – just melt everything together in one pot, pour it into a pan, and let the fridge do the work. It’s perfect for last-minute desserts, holiday cookie trays, or wrapping up as homemade gifts.
Ingredients & Equipment
- Semi-sweet chocolate chips
- Sweetened condensed milk
- Unsalted butter
- Vanilla extract
- Mini chocolate chips
Full measurements for each ingredient can be found in the printable recipe card at the bottom of this post.
You’ll also need a few things from your kitchen:
- 8×8-inch baking pan
- Parchment paper
- Medium saucepan
- Silicone spoon for stirring
- Sharp knife for cutting
Step By Step Directions
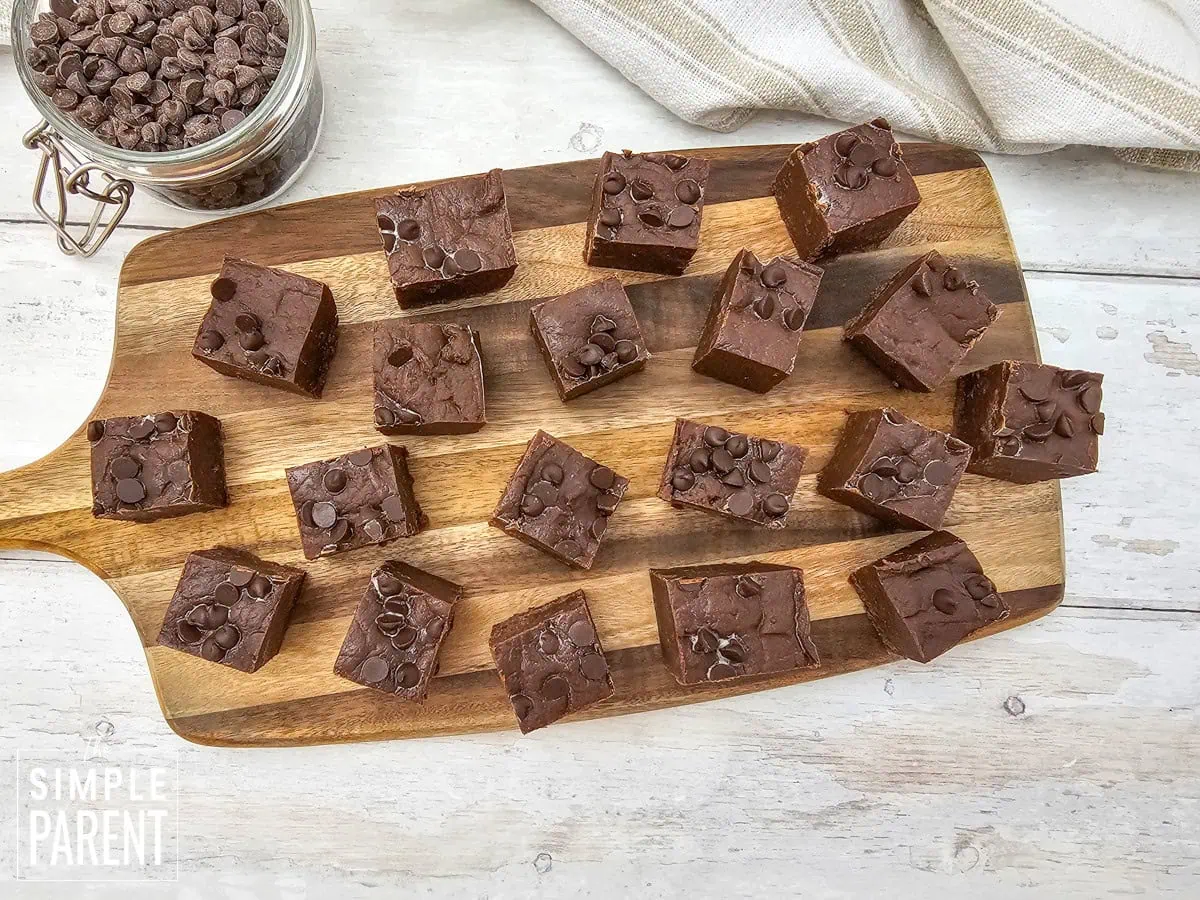
This recipe makes 25-36 pieces depending on the size you cut. It takes 10 minutes of prep time and 10 minutes of cook time.
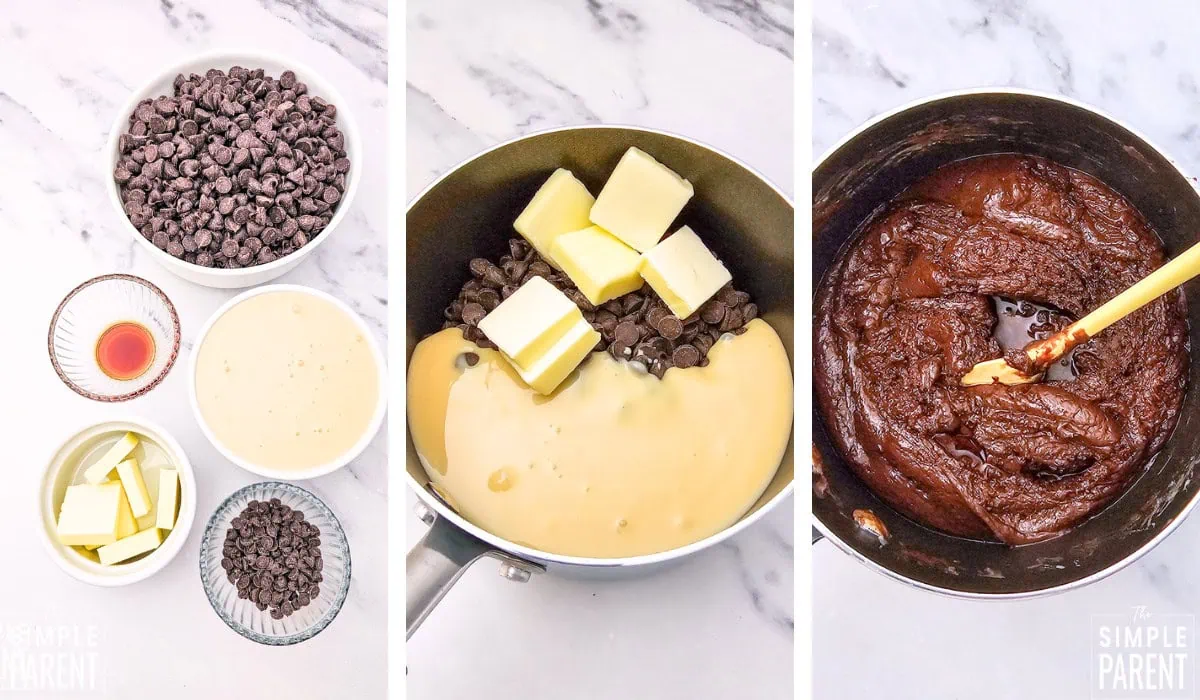
Step 1. Line an 8×8-inch baking pan with parchment paper, leaving overhang for easy removal.
Step 2. In a medium saucepan over low heat, stir chocolate chips, sweetened condensed milk, and butter, until smooth.
Step 3. Remove from heat, stir in vanilla extract.
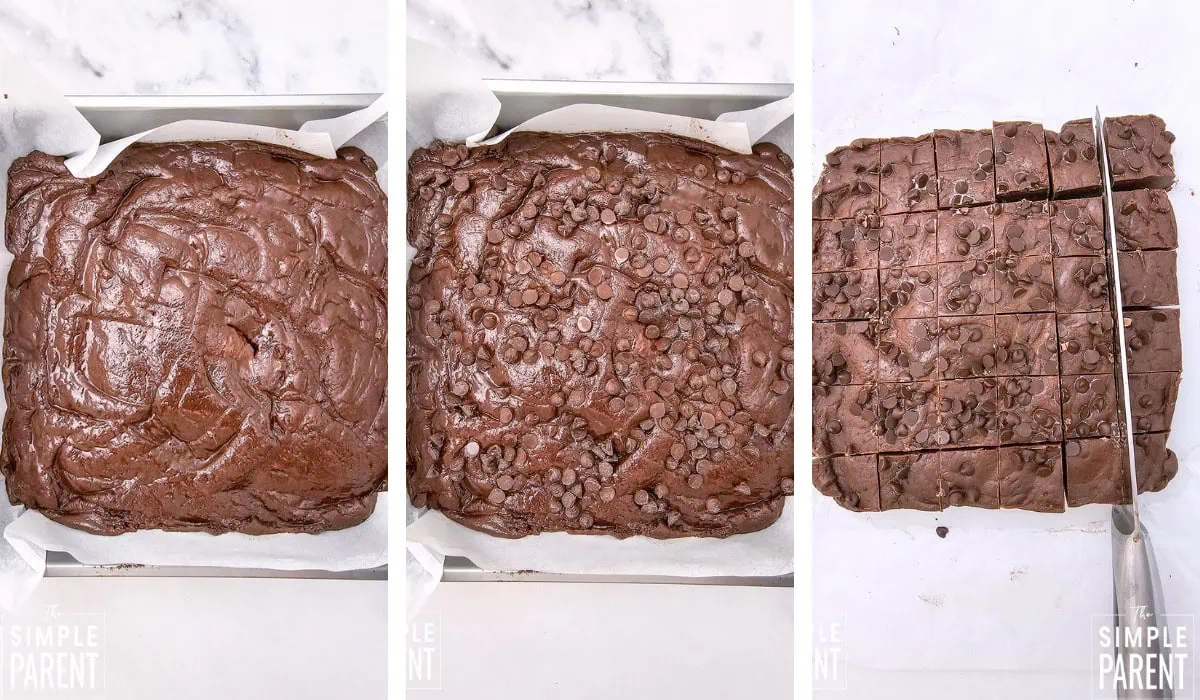
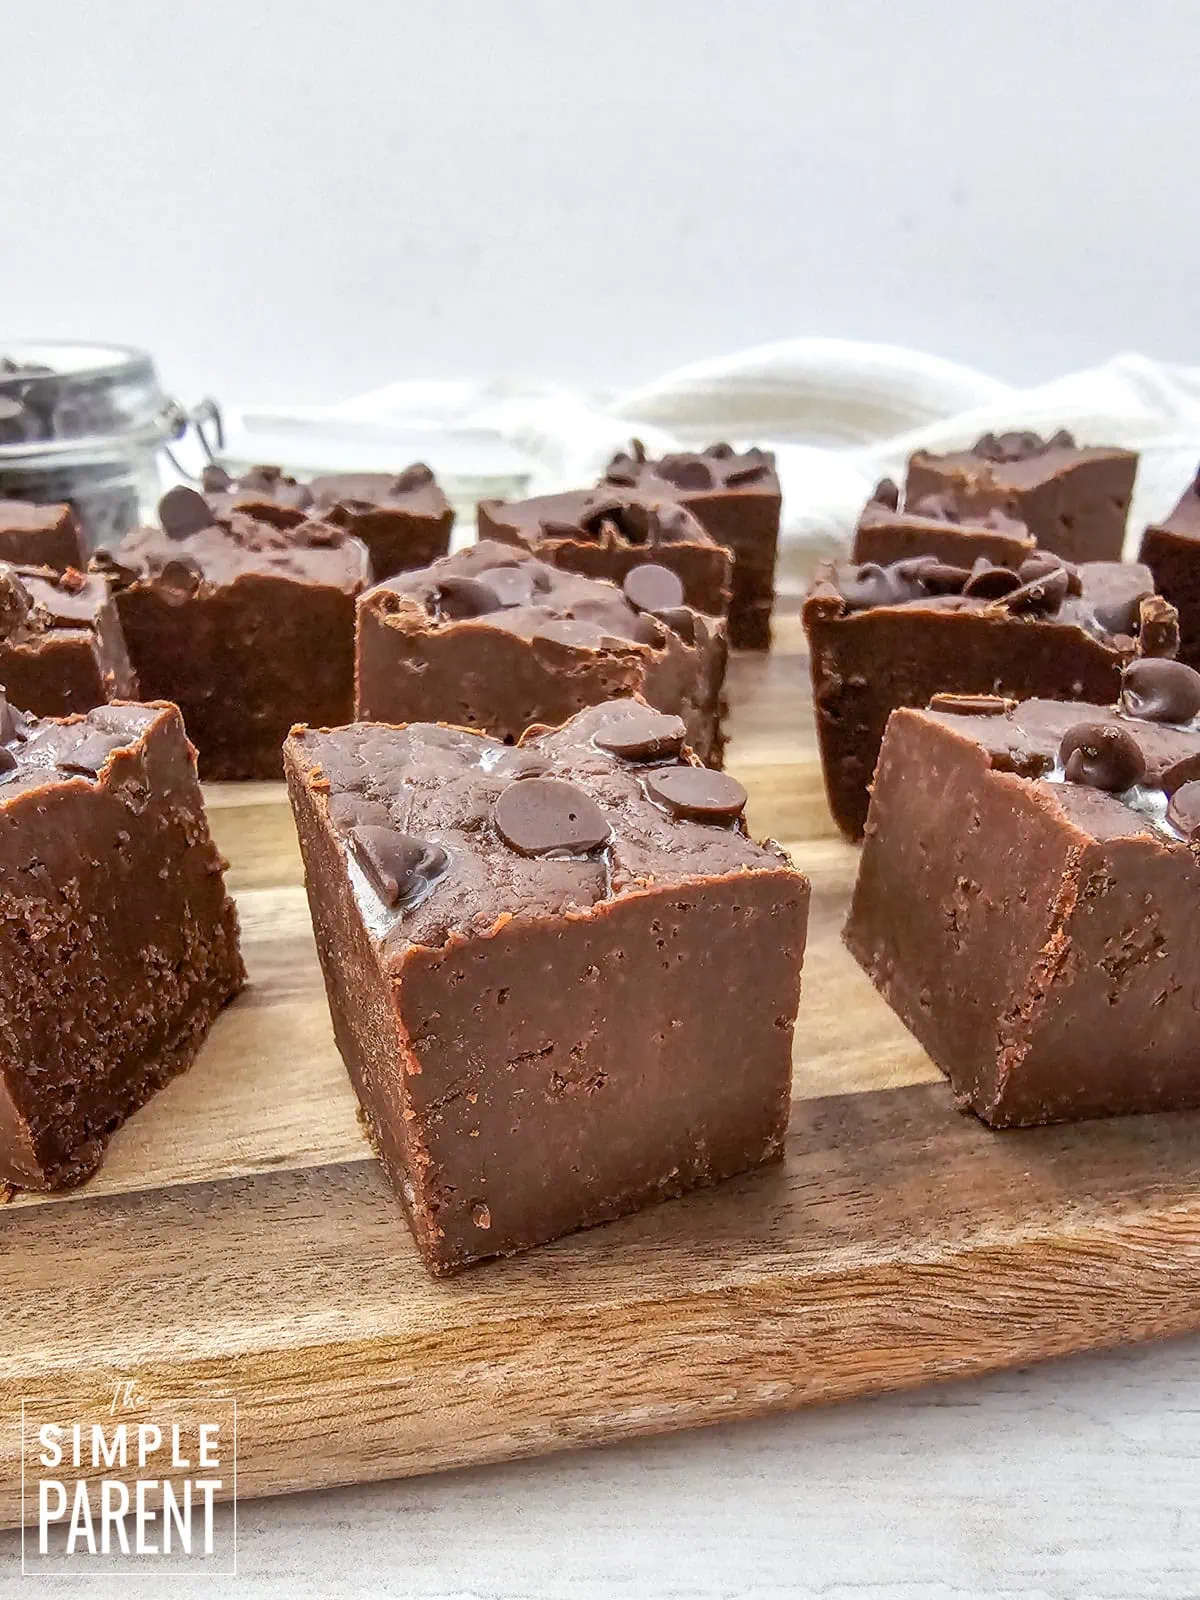
Step 4. Pour into the pan, and sprinkle mini chocolate chips over the top.
Step 5. Refrigerate 4-5 hours until set.
Step 6. Lift out of the pan and cut into squares.

Variations
- Use dark chocolate chips for a richer, more intense chocolate flavor
- Mix in chopped walnuts, pecans, or almonds before pouring into the pan for nutty chocolate fudge
- Add a tablespoon of instant espresso powder for mocha fudge
- Swirl in a few spoonfuls of peanut butter before the fudge sets
- Top with crushed candy canes instead of mini chocolate chips for a peppermint chocolate version
- Add 1/2 cup of mini marshmallows mixed into the fudge for extra texture
- Drizzle melted white chocolate over the top instead of using mini chocolate chips
Leftovers & Storage
Store Easy Chocolate Fudge in an airtight container in the refrigerator for up to two weeks. Keep layers separated with parchment paper to prevent sticking. You can also freeze it for up to three months, making it perfect for making ahead during the busy holiday season.
Tips & Tricks
- Use low heat when melting the chocolate to prevent it from seizing or getting grainy – patience is key here
- Let the parchment paper hang over the edges of the pan so you can easily lift the whole block out for cutting
- Let the fudge come to room temperature for about 10 minutes before cutting so it doesn’t crack
- Use a sharp knife and wipe it clean between cuts for the neatest squares
- Press the mini chocolate chips gently into the top so they stick better
- If you want perfectly even pieces, measure and mark lines with a knife before cutting all the way through
Recipe FAQs
Can I use milk chocolate chips instead of semi-sweet? Yes! Milk chocolate chips work perfectly in this recipe and will give you a sweeter, creamier fudge. Just keep in mind it will be less rich than the semi-sweet version.
Why is my fudge grainy instead of smooth? Grainy fudge usually happens when the chocolate gets too hot while melting. Keep your heat on low and stir constantly until everything is completely smooth. Using good quality chocolate chips helps too.
Can I make this without the mini chocolate chips on top? Absolutely! The mini chocolate chips are just for decoration and extra chocolate flavor. You can skip them, use chopped nuts instead, or leave the top plain.
My fudge isn’t setting up. What went wrong? If your fudge is still soft after 5 hours in the fridge, it likely needed a bit more cooking time to thicken. Try refrigerating it overnight. Next time, cook the mixture for an extra 2-3 minutes while stirring constantly.
How do I get clean cuts when slicing the fudge? Use a sharp knife and run it under hot water, then wipe it dry before each cut. This warms the knife slightly and helps it glide through the fudge without dragging or crumbling.
Can I double this recipe? Yes! Use a 9×13-inch pan instead of an 8×8-inch pan. The cooking time stays the same, but you may need an extra hour or two in the fridge for it to set completely since it will be a bit thicker.
More Fudge Recipes
- Fantasy Fudge
- Peppermint Fudge
- Chocolate Caramel Fudge
- Christmas Fudge
- White Chocolate Fudge
- Maple Fudge
- Christmas Peanut Butter Fudge
- Chocolate Frosting Fudge
Equipment
- 8x8 or 9x9-inch square baking dish
- 2 Microwave-safe bowls
- Spoon or spatula for stirring
- Sharp knife for cutting
Ingredients
- 14 oz sweetened condensed milk divided
- 2 tbsp unsalted butter divided
- 2 tsp vanilla extract divided
- 1 cup semi-sweet chocolate chips
- 1 cup white chocolate chips
- 2 tbsp Christmas sprinkles
Instructions
- Line an 8x8 or 9x9 square baking dish with parchment.
- Add the semi-sweet chocolate chips, half of the sweetened condensed milk, and 1 tbsp butter to a microwave safe bowl.
- Microwave for 30 seconds, and stir well. If not melted, microwave for 15 seconds more and stir to combine. Once melted, stir in 1 tsp vanilla extract.
- Spread the chocolate fudge mixture evenly into the bottom of your baking dish.
- Refrigerate this for 30 minutes.
- Then, add the white chocolate chips, remaining half of the sweetened condensed milk, and 1 tbsp butter to a microwave safe bowl. Repeat the process, microwave for 30 seconds, stir well, and microwave 15 seconds more if needed. Stir well to combine and stir in 1 tsp vanilla.
- Layer the white chocolate fudge over the regular chocolate fudge.
- Sprinkle the Christmas sprinkles over top.
- Move the fudge to the refrigerator for at least 4 hours, or overnight.
- Cut into squares and enjoy.
Notes
Pin This Post
Leave a Reply