The holidays might be the only time of year when you find yourself doing a lot of baking. What happens if you run out of some of the basics? I know I don’t keep things like condensed milk on hand but it’s often needed in my holiday prep. Learn how to make condensed milk with this easy recipe and you’ll never run out!
Scroll down for a printable recipe card or continue reading to get all of my tips.

How to Make Condensed Milk
I don’t cook from scratch very often but there is something fun about doing it during the holiday season. This condensed milk recipe is very easy to make and you get that fun sense of making something truly homemade.
You only need two basic ingredients and some time!
Why You’ll Love This Recipe
- Simple to Make – You only two ingredients to make this easy recipe and they are both kitchen staples! It’s easy for anyone to make whether you’re new in the kitchen or have years of experience!
- Affordable – During times when groceries feel so expensive, making condensed milk at home is a great way to save money when you’re doing a lot of baking and cooking. It’s a budget-friendly option, especially for those who use condensed milk fairly often.
- Versatile – This homemade condensed milk can be used in a variety of recipes! Learning how to make it yourself can add a personal touch and a sense of achievement to your kitchen experience! You can also tweak the recipe to your desired sweetness, which is something you cannot do when you buy canned condensed milk at the store.
Homemade Sweetened Condensed Milk Ingredients
You only need basic ingredients to make this easy recipe. You probably have them both in your kitchen right now! You’ll need:
- Milk
- White sugar
See the recipe card at the bottom of this page for full measurements.
That’s really all that you need! You will also need a few pieces of equipment:
- Measuring cups
- Saucepan
- Spatula
- Storage jar or container
The one other thing you need for this recipe is a bit of patience and time. This is an easy recipe but it does take some time. You need to cook it slowly so it will thicken without burning.

Recipe Instructions
This recipe makes one cup of condensed milk and takes 5 minutes of prep time and 40-50 minutes total time.
Combine the milk and sugar in a medium saucepan.
Cook over medium heat, stirring occasionally, until the sugar has dissolved.
Reduce the heat to low and bring the mixture to a simmer. Once the milk starts to simmer, do not stir it to prevent it from crystallizing.
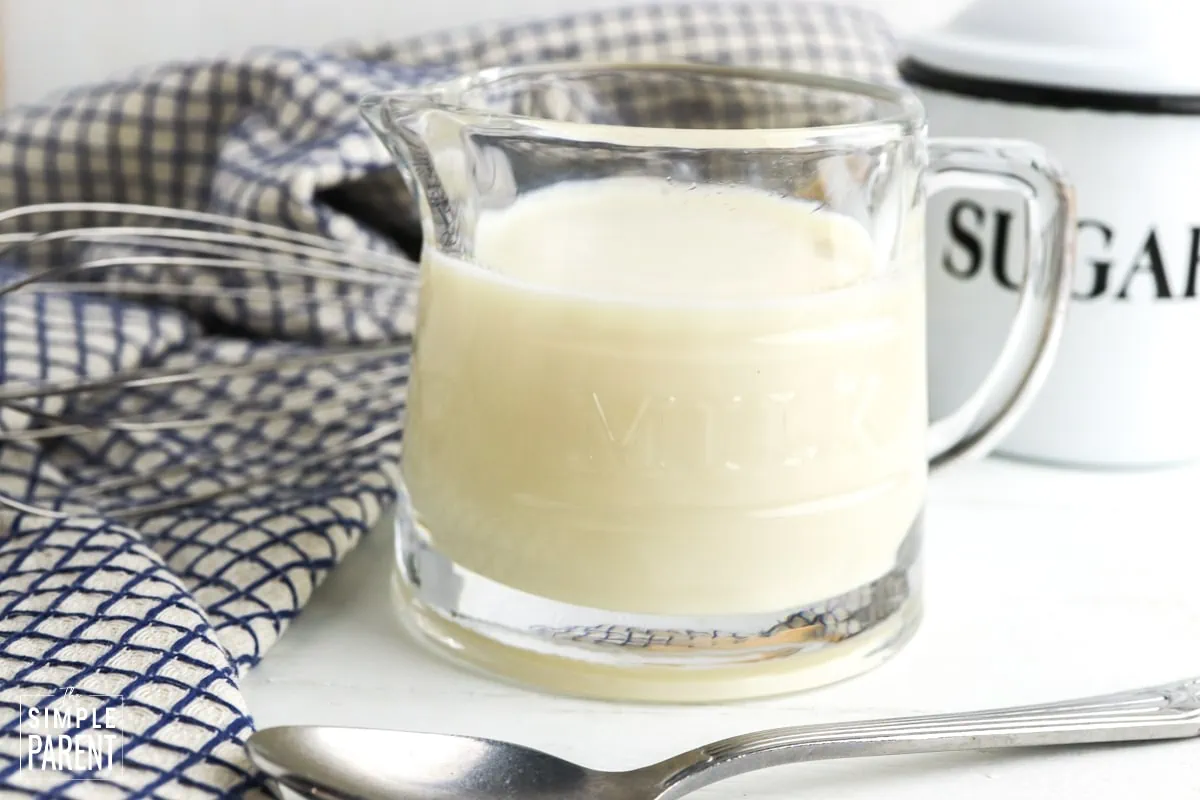
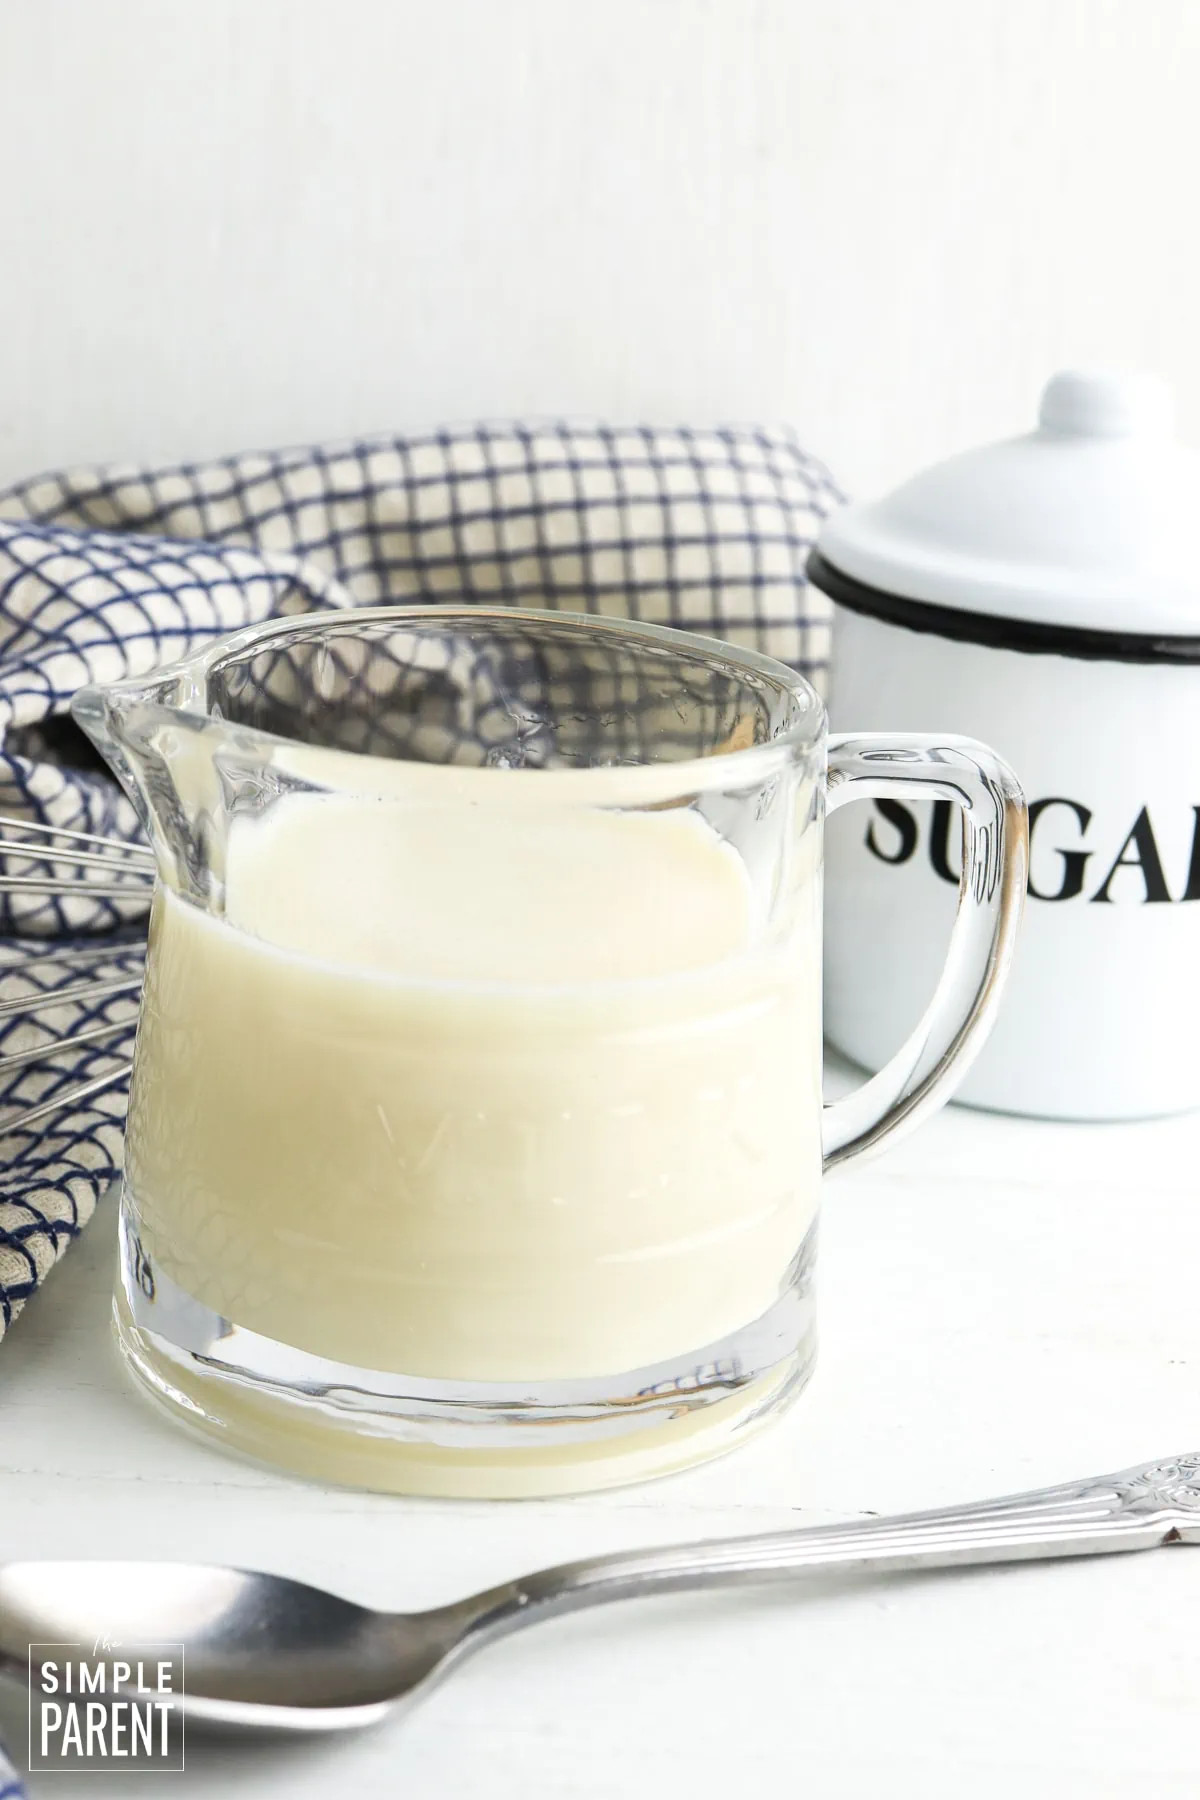
Continue simmering the milk for 35 to 45 minutes, until the milk begins to thicken and turns a darker creamy color. You want a smooth consistency and creamy texture. If foam begins to form on top, lightly scrape it off with a spoon.
When the milk is finished reducing, remove it from heat and allow it to cool completely.
Pour the cooled milk from the pot into a jar with a lid or other airtight container and keep refrigerated until ready to use.
It can be stored for up to a week in the fridge.

Tips & Tricks
- Stirring – Don’t forget to stir the milk occasionally while you simmer the milk. This helps prevent lumps and ensures even cooking.
- Flavor Variations – Feel free to experiment with flavors. You can change up the flavor of your condensed milk with vanilla extract or vanilla bean, chocolate, honey, citrus zest, maple syrup, cinnamon, and other spices.
- Low Heat – Be sure to keep the heat low throughout the cooking process. This is where patience and time comes into play. High heat can cause the milk to burn, giving your condensed milk a burnt flavor.
Uses for Condensed Milk
You can use condensed milk in so many ways. Some ideas include:
- Coffee creamer
- Baking recipes like cake, cookies, and other treats
- Homemade ice cream
- Homemade fudge
- Dessert toppings or fillings
- Pancake topping
- Sweet dips for fruits or crackers
FAQs
What kind of milk should I use to make condensed milk?
Whole milk is the best choice for this recipe because you will get creamier and richer condensed milk. But you can also use low-fat or skim milk. The texture will just be a bit lighter.
You can also use milk substitutes and dairy-free alternatives in this recipe including:
- Coconut milk
- Almond milk
- Non-dairy milk
Just remember that the consistency may be slightly different if you use one of these options.
What’s the difference between evaporated milk and condensed milk?
Evaporated milk is unsweetened concentrated milk. It’s used in a variety of both sweet and savory dishes due to its denser, milk-like taste.
Condensed milk is sweetened concentrated milk with a thick, creamy texture. It is usually used in desserts and sweetened beverages.
How do I know when the condensed milk is done?
You’ll know the condensed milk is done when it has been reduced down to about half. It will also have a thicker, creamy texture and be a golden color. As the milk cools, it will thicken even more.
What can I use if I don’t have condensed milk?
If you don’t have any on hand, you can follow this recipe to make your own.
There are other alternatives you can try as well.
- Heavy Cream and Sugar – Mix heavy cream with a suitable amount of sugar. This can give you a similar creamy texture and sweetness that can work well in dessert recipes.
- Evaporated Milk and Sugar – If you have evaporated milk, add sugar to it and heat until the sugar dissolves.
- Half-and-Half and Sugar – Mixing half-and-half with sugar can also provide a similar consistency and sweetness.
If you use one of these alternatives, you may not get the exact flavor in your recipe, but you should get a similar taste.
Use in These Recipes
If you’re looking for some recipes to use your condensed milk in after you make it, try one of these delicious recipes:
- Graham Cracker Toffee
- Rainbow Pancakes
- Strawberry Pancakes (make a delicious, sweet drizzle to top pancakes instead of syrup!)
Equipment
Instructions
- Combine the milk and sugar in a medium saucepan.
- Cook over medium heat, stirring occasionally, until the sugar has dissolved.
- Reduce the heat to low and bring the milk to a simmer. Once the milk starts to simmer, do not stir it to prevent it from crystalizing.
- Continue simmering the milk for 35 to 45 minutes, until the milk begins to thicken and turns a darker, creamy color. If foam begins to form on top, lightly scrape it off with a spoon.
- When the milk is finished reducing, remove it from heat and allow it to cool completely.
- Transfer the cooled milk to a jar or other airtight container and keep refrigerated until ready to use.

Leave a Reply