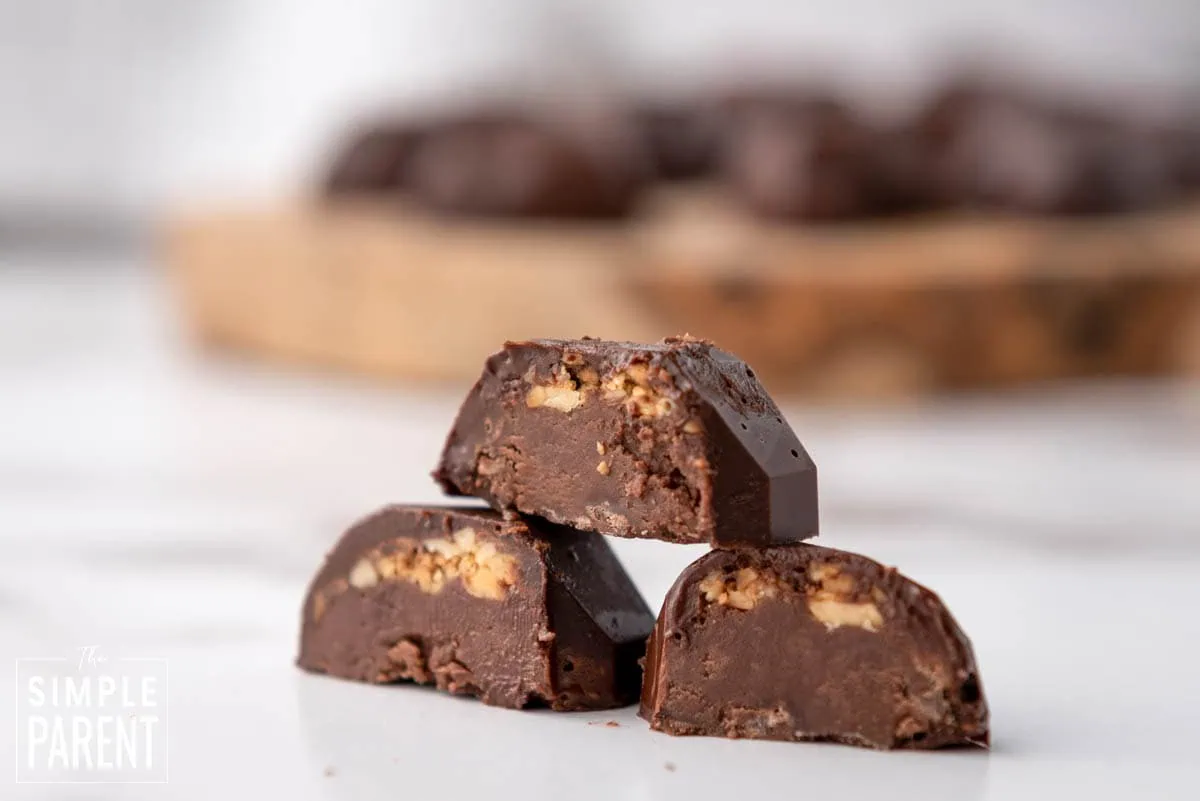
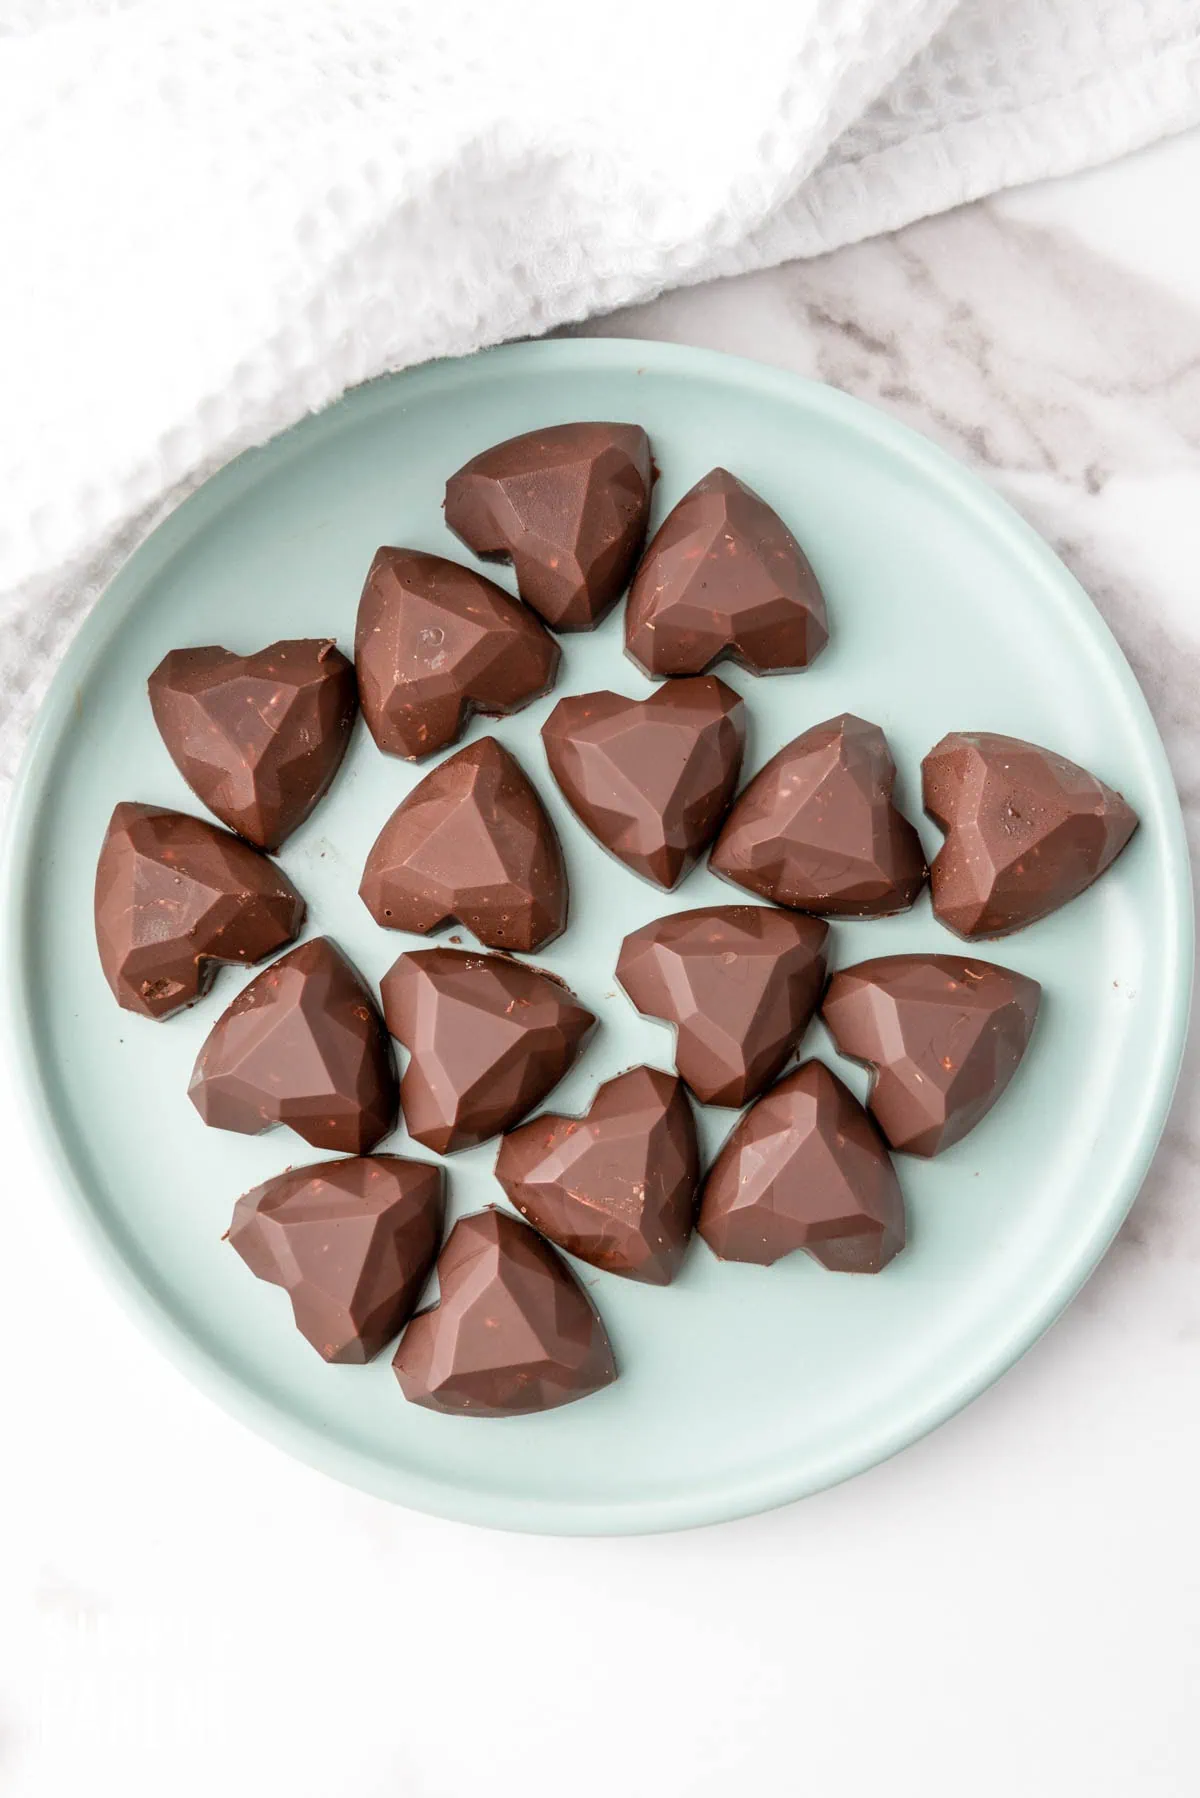
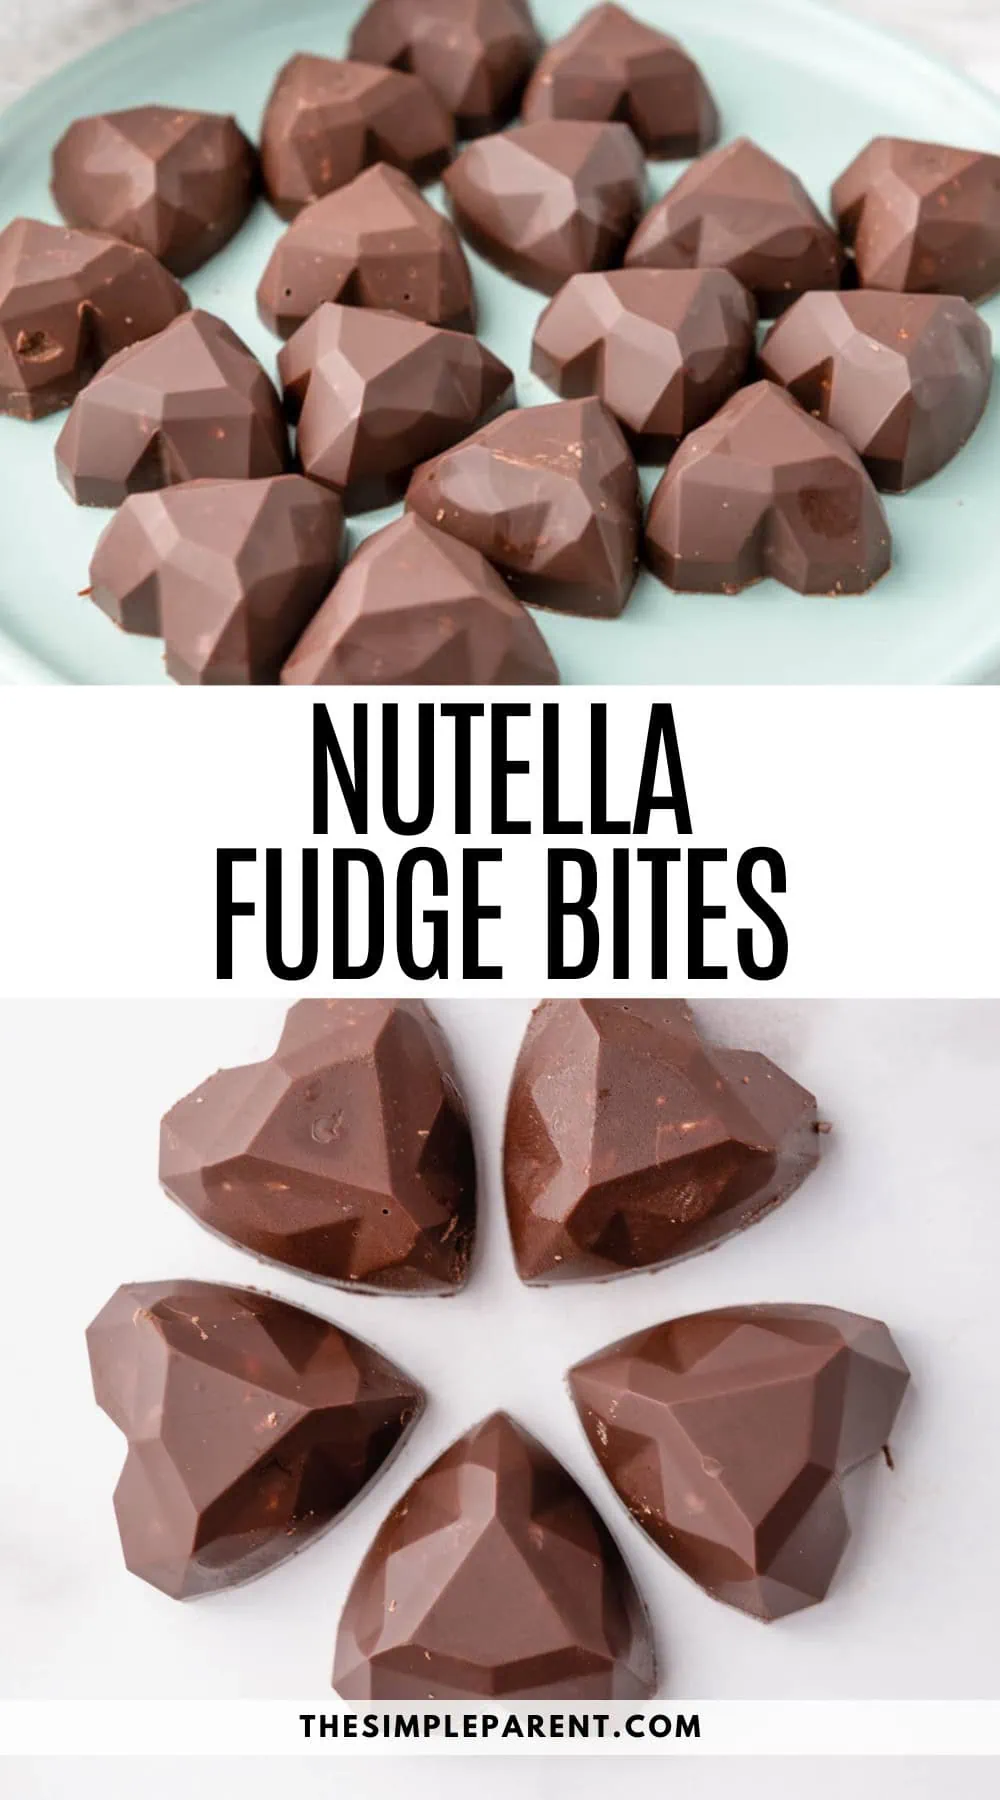
Nutella Fudge Bites are perfect when you want homemade Nutella candy that tastes just like fancy chocolate shop truffles. These Nutella balls have a creamy Nutella filling with roasted hazelnuts, all wrapped in a smooth chocolate shell that melts in your mouth.
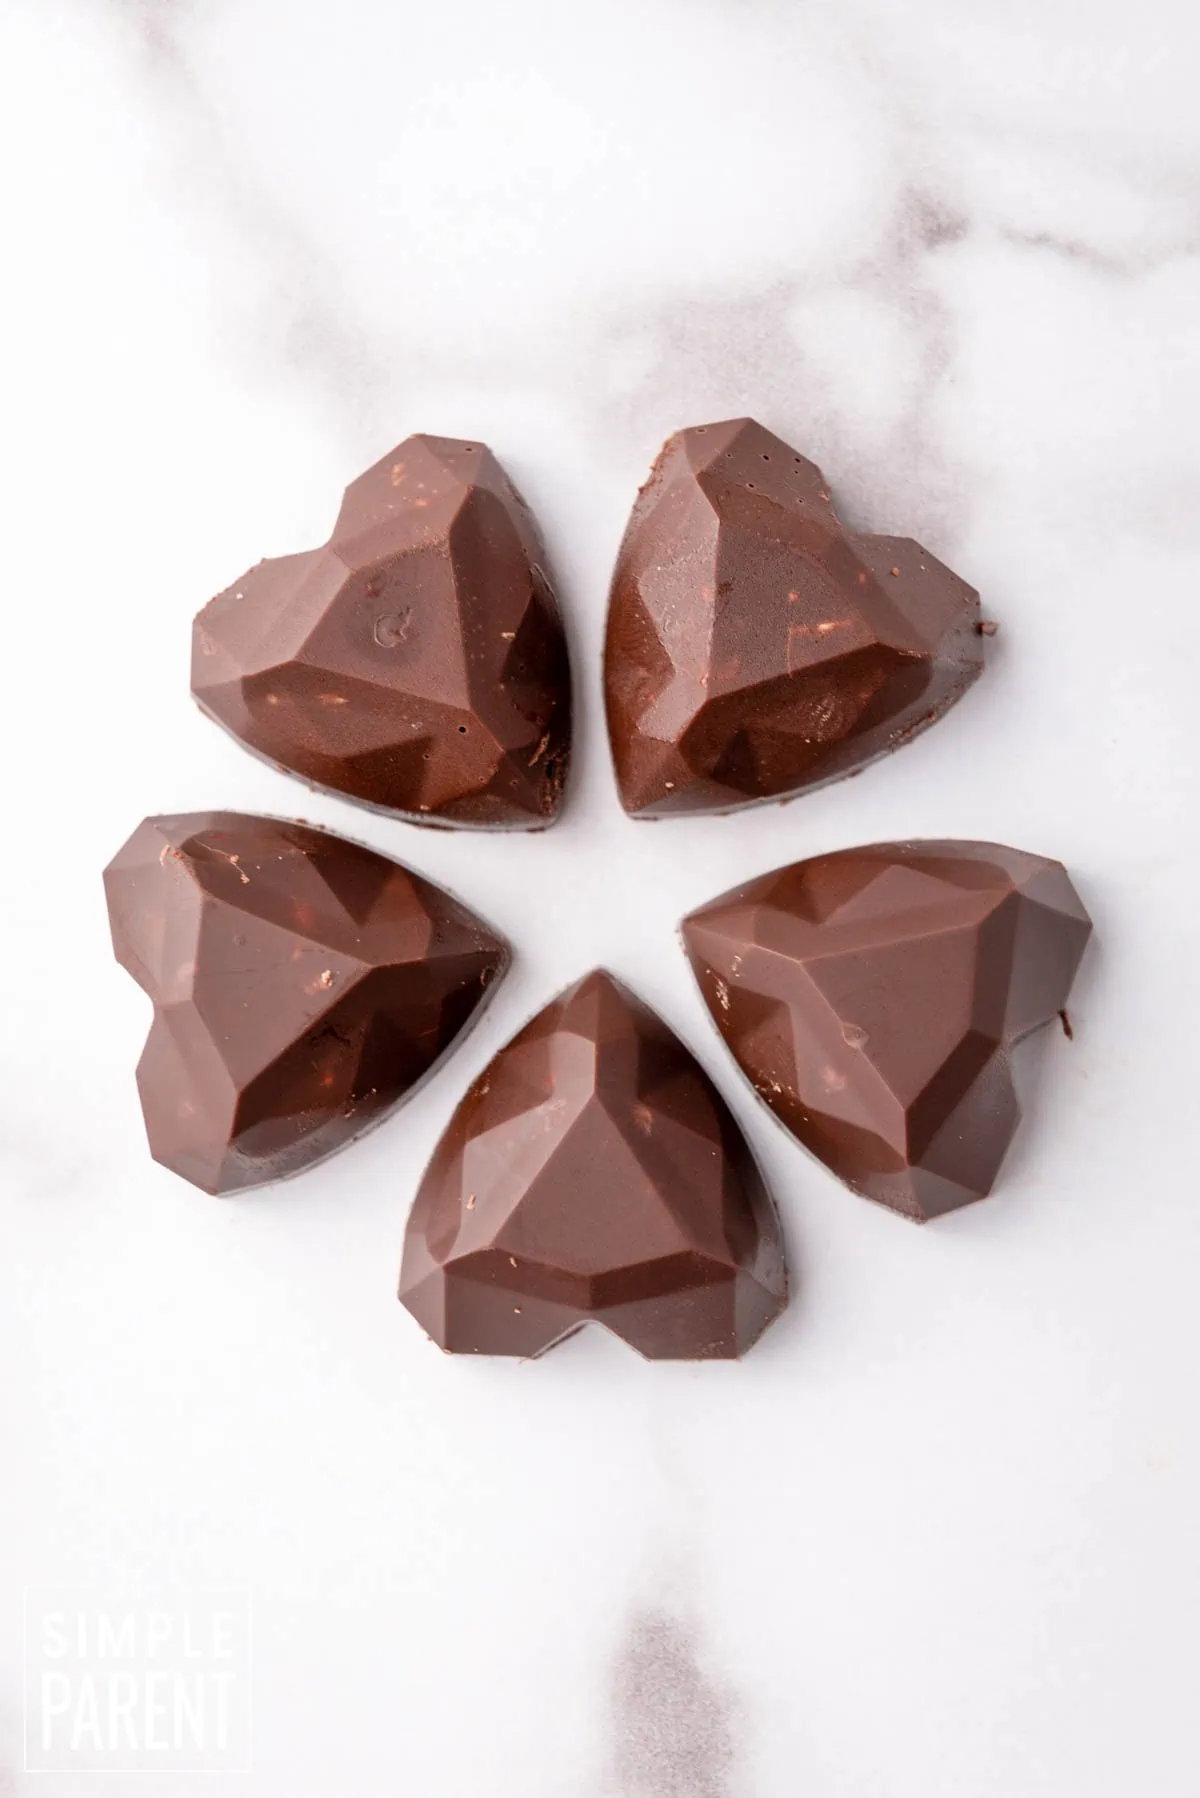
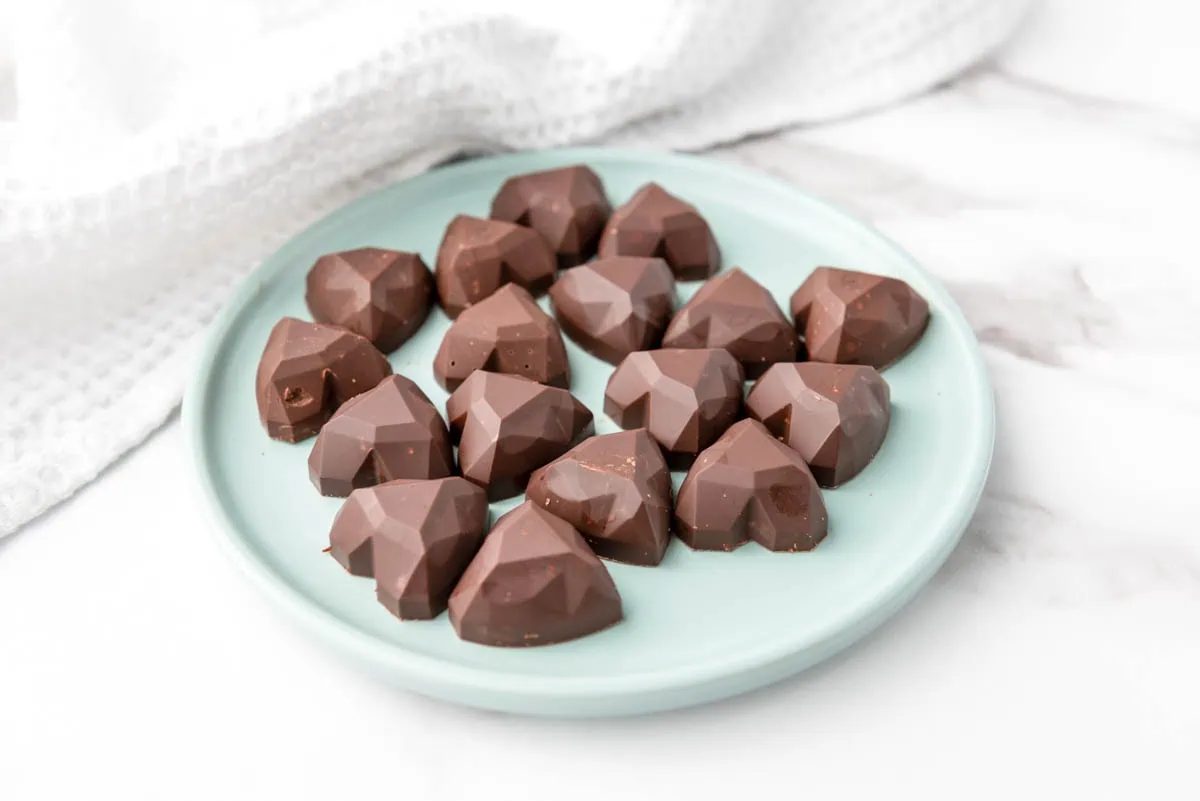
Nutella Fudge Bites
What makes this recipe so special is how professional they look when you pop them out of the mold. You get perfectly shaped Nutella truffles that are ideal for Valentine’s Day gift boxes, holiday parties, or any time you want to impress someone with homemade chocolates. They take a little time but are honestly so worth it.
Ingredients & Equipment
- Semi-sweet chocolate chip morsels
- Nutella
- Raw hazelnuts
- Unsalted butter
- Powdered sugar
Full measurements for each ingredient can be found in the printable recipe card at the bottom of this post.
You’ll also need a few things from your kitchen:
- Candy mold (bonbon or truffle mold)
- Food processor
- Two microwave-safe bowls
- Metal scraper or offset spatula
- Spoon
- Baking sheet (for roasting hazelnuts)
Step By Step Directions
This recipe makes 20 to 25 candies. It takes 15 to 20 minutes of prep time and 5 minutes of cook time, plus 40 minutes of cooling time.
Step 1. Start by preheating your oven to 350°F.
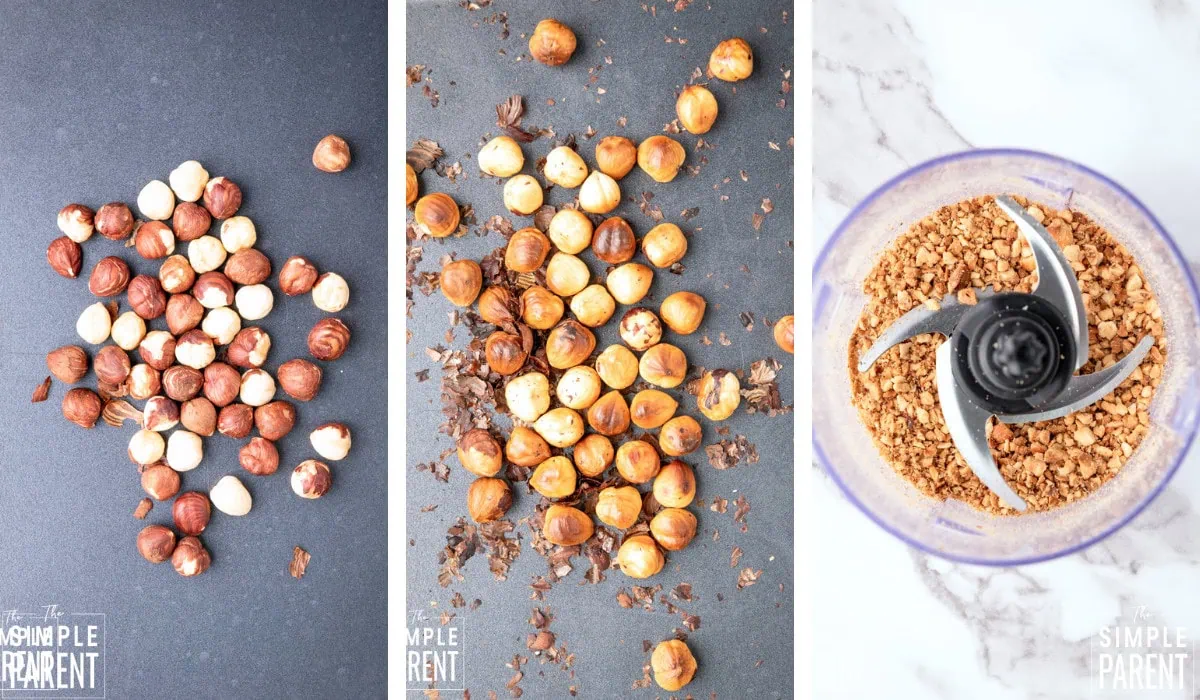
Step 2. Place the hazelnuts in the oven and roast them for approximately 5 minutes. Then allow them to cool off and use your hands to remove the skin.
Step 3. Process the hazelnuts in a food processor until finely chopped.
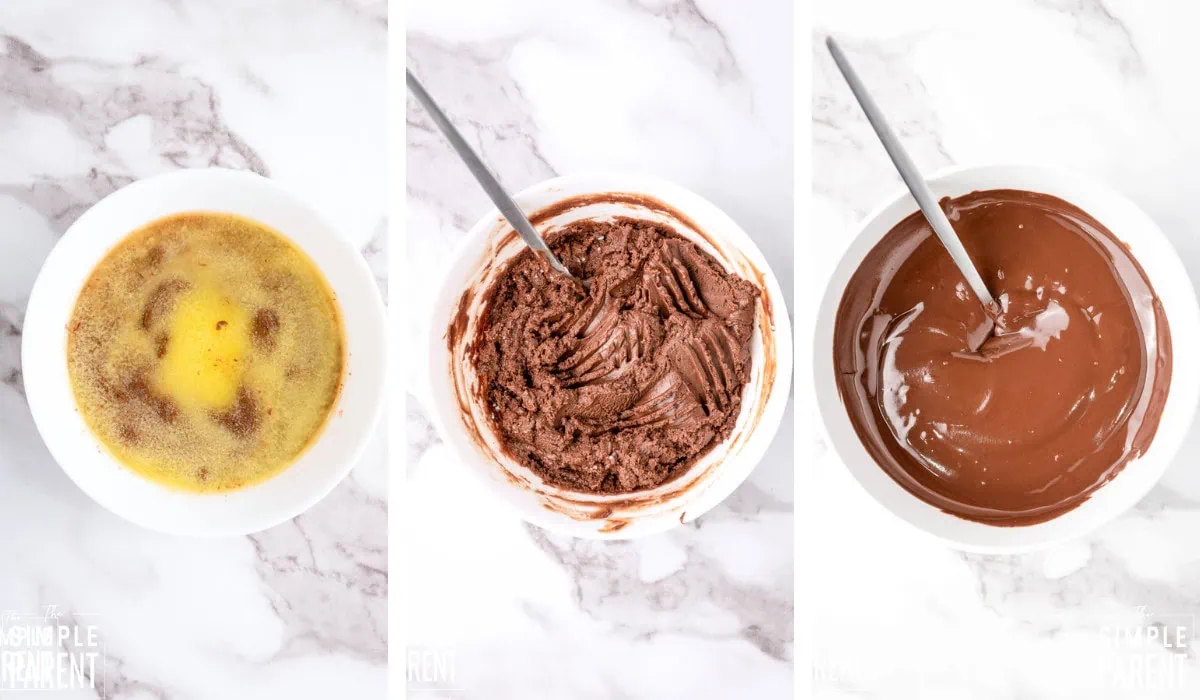
Step 4. In a microwavable bowl, combine Nutella and butter, and microwave for about 30 seconds or until the butter has melted. Stir until well combined.
Step 5. Add powdered sugar to the Nutella mixture and mix again.
Step 6. In another bowl, melt the chocolate chips in the microwave for about 2 minutes, stirring every 30 seconds until fully melted.
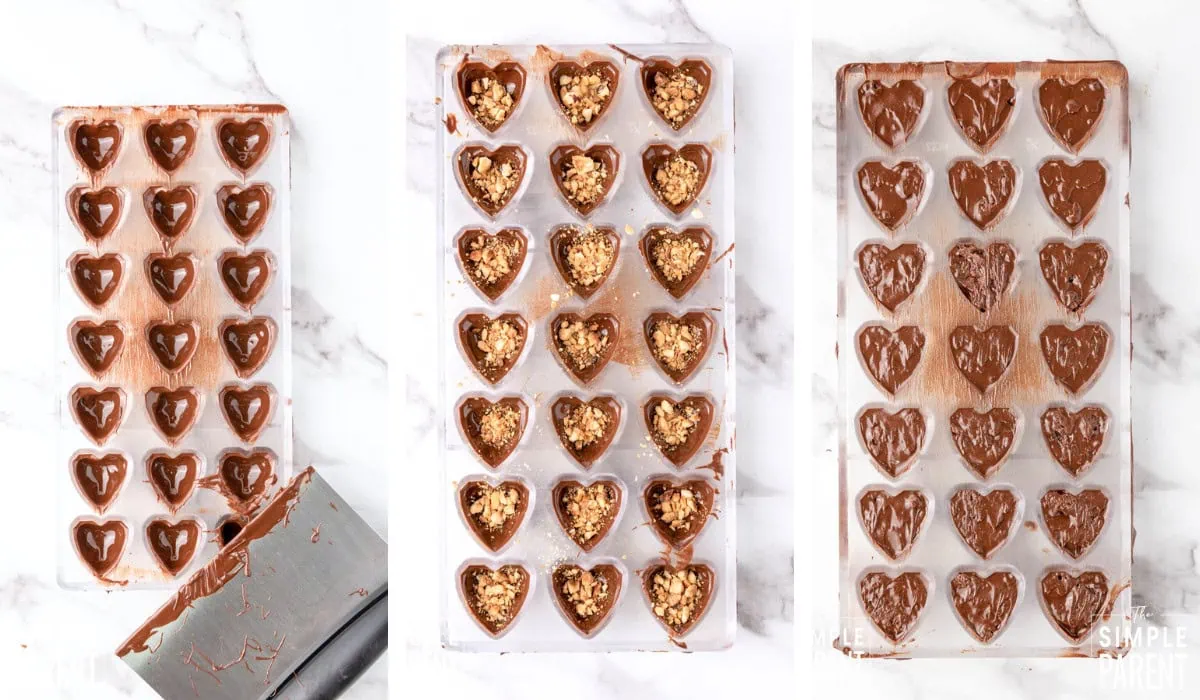
Step 7. Coat your candy mold completely with the melted chocolate, ensuring all the holes are covered. Then flip the mold over and let the excess chocolate drip out. Use a scraper to remove any remaining excess chocolate.
Step 8. Cool the chocolate mold in the fridge for about 10 minutes or until slightly hardened.
Step 9. Add the roasted hazelnuts to the mold.
Step 10. Spoon the Nutella mixture into the mold, leaving room for more chocolate.
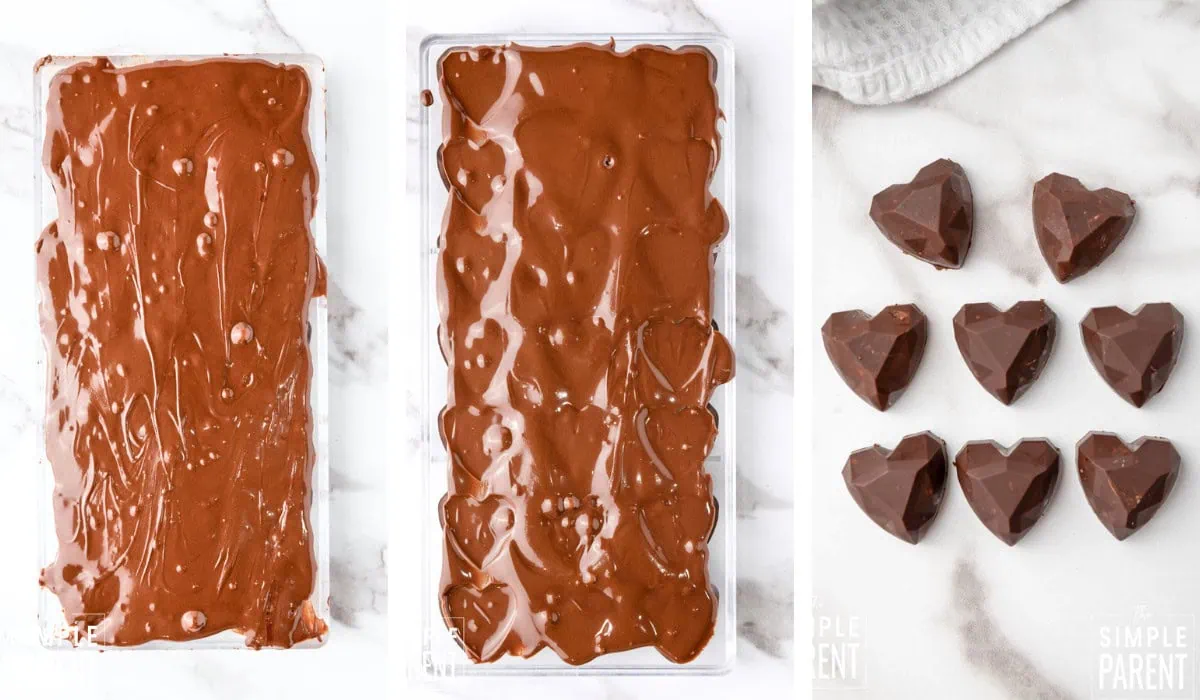
Step 11. Pour the remaining melted chocolate over the candy molds, making sure they are fully covered. Tap the mold on the table a few times to remove air bubbles and ensure the chocolate settles at the bottom.
Step 12. Use a metal scraper to remove any excess chocolate from the mold again.
Step 13. Place the candies in the fridge for at least 30 minutes or until hardened.
Step 14. Once hardened, remove the chocolates from the mold and enjoy!
Variations
- Milk Chocolate Shell – Use milk chocolate chips instead of semi-sweet for a sweeter, milder chocolate coating
- Dark Chocolate Version – Try dark chocolate chips for a more sophisticated, less sweet candy
- Skip the Hazelnuts – Leave out the hazelnuts if you have allergies or just want a smooth Nutella center
- Add Sea Salt – Sprinkle a tiny bit of flaky sea salt on top of each candy before the final chocolate layer sets for a sweet and salty twist
- Use Different Nuts – Try chopped almonds or pecans instead of hazelnuts for a different flavor
- White Chocolate Coating – Use white chocolate for the outer shell and drizzle with dark chocolate for a pretty contrast
Leftovers & Storage
Store Nutella fudge bites in an airtight container in the refrigerator for up to 2 weeks. You can also freeze them for up to 3 months. Let them sit at room temperature for about 5 minutes before eating for the best creamy texture. Layer them between parchment paper if you’re stacking them so they don’t stick together.
Tips & Tricks
- Make sure to coat the entire mold evenly with chocolate in the first step or you’ll have thin spots that break
- Tap the mold firmly on the counter after flipping to get all the excess chocolate out before refrigerating
- Don’t fill the Nutella mixture all the way to the top – leave about 1/4 inch for the final chocolate layer
- If your chocolate gets too thick while working, microwave it for 10 seconds and stir to thin it back out
- The hazelnuts skins will rub off easily after roasting – just use a clean kitchen towel to help remove any stubborn pieces
- Work quickly when filling the molds because the chocolate shell can start to soften at room temperature
- Use a metal scraper or offset spatula to get a really smooth, professional finish on the bottom of the candies
Recipe FAQs
Do I have to use a candy mold?
Yes, you really need a mold for this recipe to get the proper shell and filling layers. Silicone candy molds work great and you can find them online or at craft stores. Without a mold, these won’t have the same shape or texture.
Can I use store-bought chopped hazelnuts?
You can, but roasting your own hazelnuts fresh makes a huge difference in flavor. If you do use pre-chopped hazelnuts, toast them in the oven for a few minutes to bring out their flavor.
What if my chocolate is too thick to coat the mold smoothly?
Add a teaspoon of vegetable oil or shortening to the melted chocolate and stir well. This will thin it out and make it easier to work with for coating.
How do I get the candies out of the mold without breaking them?
Make sure they’re completely hardened first, then gently flex the mold and they should pop right out. Silicone molds are much easier to unmold than plastic ones.
Can I make these without a food processor for the hazelnuts?
Yes, you can chop the roasted hazelnuts very finely with a knife, or put them in a zip lock bag and crush them with a rolling pin. The texture will be slightly different but they’ll still taste great.
Do these need to stay refrigerated?
They’re best stored in the refrigerator, but you can leave them at room temperature for serving for a few hours. In warm weather, definitely keep them chilled or the chocolate will get soft.
More Valentine’s Day Treats
- Valentine Oreos
- Red Velvet Cake Balls
- Strawberry Fudge
- Strawberry Shortcake Puppy Chow
- Valentine Marshmallow Pops
- Valentine Pretzels
- Valentine Cake Pops
- Valentine Peanut Butter Blossom Cookies
- Valentine’s Day Candy Bark
- Valentine Peanut Butter Balls
- Valentine Chocolate Cake Mix Cookies
- Easy Heart Shaped Cupcakes
Equipment
- Candy mold (bonbon or truffle mold)
- Two microwave-safe bowls
- Metal scraper or offset spatula
- Baking sheet (for roasting hazelnuts)
Ingredients
- 1 cup semi-sweet chocolate chip morsels
- 1/2 cup Nutella
- 1/4 cup raw hazelnuts
- 3 tbsp unsalted butter
- 1 tbsp powdered sugar
Instructions
- Start by preheating your oven to 350°F.
- Place the hazelnuts in the oven and roast them for approximately 5 minutes. Then allow them to cool off and use your hands to remove the skin.
- Process the hazelnuts in a food processor until finely chopped.
- In a microwavable bowl, combine Nutella and butter, and microwave for about 30 seconds or until the butter has melted. Stir until well combined.
- Add powdered sugar to the Nutella mixture and mix again.
- In another bowl, melt the chocolate chips in the microwave for about 2 minutes, stirring every 30 seconds until fully melted.
- Coat your candy mold completely with the melted chocolate, ensuring all the holes are covered. Then flip the mold over and let the excess chocolate drip out. Use a scraper to remove any remaining excess chocolate.
- Cool the chocolate mold in the fridge for about 10 minutes or until slightly hardened.
- Add the roasted hazelnuts to the mold.
- Spoon the Nutella mixture into the mold, leaving room for more chocolate.
- Pour the remaining melted chocolate over the candy molds, making sure they are fully covered. Tap the mold on the table a few times to remove air bubbles and ensure the chocolate settles at the bottom.
- Use a metal scraper to remove any excess chocolate from the mold again.
- Place the candies in the fridge for at least 30 minutes or until hardened.
- Once hardened, remove the chocolates from the mold and enjoy!
Notes
Pin This Post
Leave a Reply