Christmas time is here and that means it’s Christmas tree time! Christmas trees are one of my favorite things about this time of year. Whether we’re decorating the trees or making crafts, they just put me in the spirit! This Christmas tree shape craft is a fun way to do a little learning while you get your holiday crafting on!
CHRISTMAS TREE PAPER CRAFT
CHRISTMAS TREE SHAPE CRAFT
I could spend weeks making Christmas tree crafts with my kids. I loved doing it in my classroom and so I have a lot of ideas. If you’re looking for more trees to make with your kids, all of our Christmas tree crafts are easy to make:
- Pom Pom Christmas Tree
- Paint Chip Christmas Tree
- Craft Stick Christmas Tree
- Paper Plate Christmas Tree
And if you’re looking for a fun Christmas tree-themed shape, our Christmas Tree Brownies are so easy to make! The kids love decorating their own tree treats!
But back to our shape Christmas tree craft!
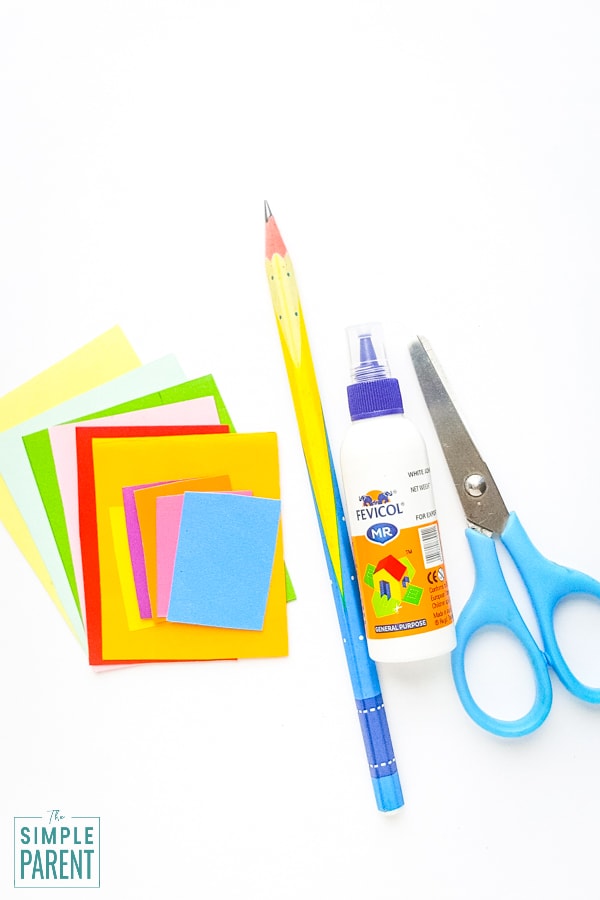
CHRISTMAS TREE PAPER CRAFT MATERIALS
The materials for this craft are very basic and you might have everything you need already! In case you need to get anything, I’ve included some affiliate links to our favorite products.
- Colored craft papers – green, brown, yellow, and other colors as desired
- Pencil or pen – for tracing the template
- Printable Template for Shapes
- Scissors
- Craft glue or glue stick
You can use construction paper or any type of craft paper. Sometimes it’s even fun to pick up some printed scrapbook paper for making the ornament shapes!
Tru-Ray Heavyweight Construction Paper Fiskars Softgrip Big Kids ScissorsElmer’s White School Glue

HOW TO MAKE PAPER CHRISTMAS TREE
Depending on the kind of paper you use to make the Christmas tree, the first step can go two ways. If you use colored paper that can go in the printer, you can print the template right on the papers and then cut. But if using construction paper, I suggest printing the template on cardstock and then tracing onto construction paper.
STEP 1
Print out the Christmas tree template and cut out pieces.

STEP 2
Trace shapes onto colored paper and cut out.
- Green – 3 triangles
- Yellow (or preferred color) – 1 rectangle and 1 star shape
- Brown – 1 square
- Various colors – circles
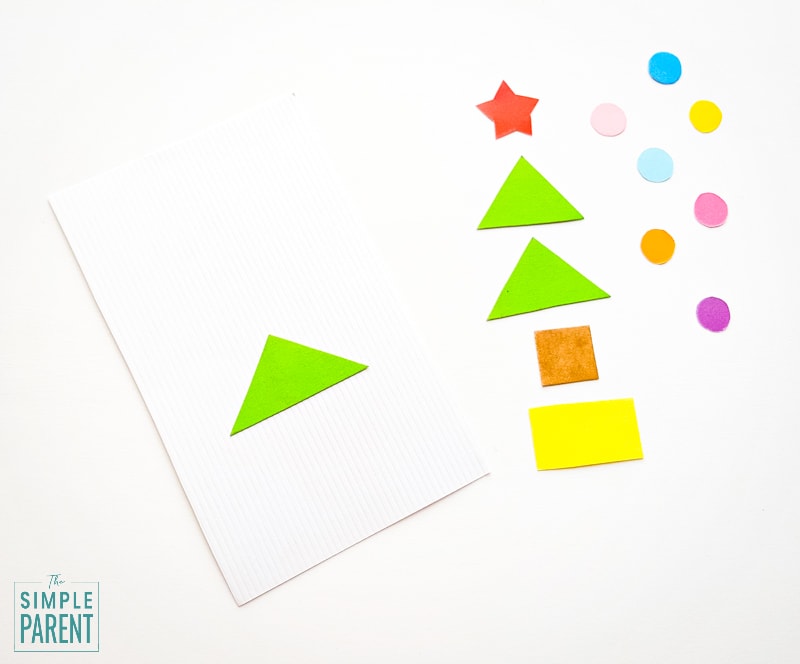
STEP 3
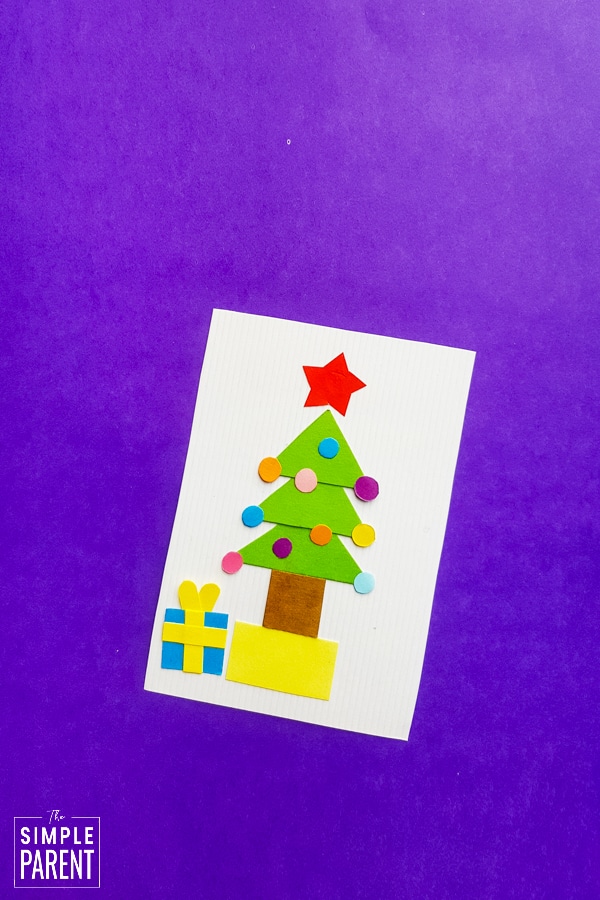
Using a sheet of white paper or cardstock as the vertical background, glue the large green triangle about 1 inch from the bottom of the paper.
STEP 4
Glue the medium-sized green triangle on the top of the largest triangle, overlapping it a bit.
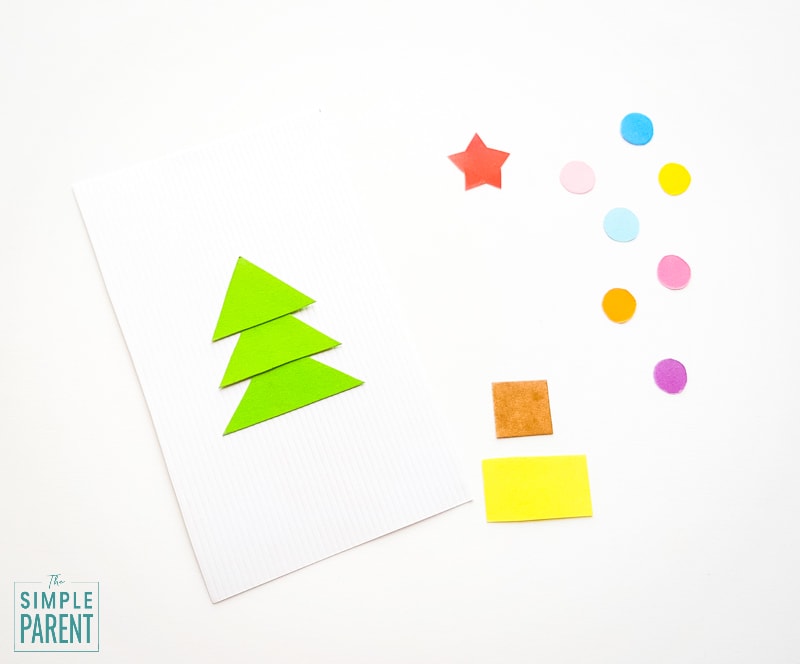
STEP 5
Then glue the small triangle on top of the medium triangle, overlapping it.
STEP 6
Glue the star shape to the top of the small triangle for the top of the tree.
STEP 7
Glue the brown square to the bottom of the large triangle to be the tree trunk.

STEP 8
Glue the yellow (or desired color) rectangle below the trunk to be the tree stand.
STEP 9
Add the circles with glue to decorate the tree!
Then allow the craft to dry completely!

If you are making this Christmas Tree shape craft with younger kids, the shapes are the perfect opportunity to learn new shapes or review shapes they already know! It’s learning and celebrating all in one!
PIN THIS POST

Dana Rodriguez says
This is a really cute idea. Fun holiday craft for the little ones!
Antoinette M says
Love this craft. So cute!